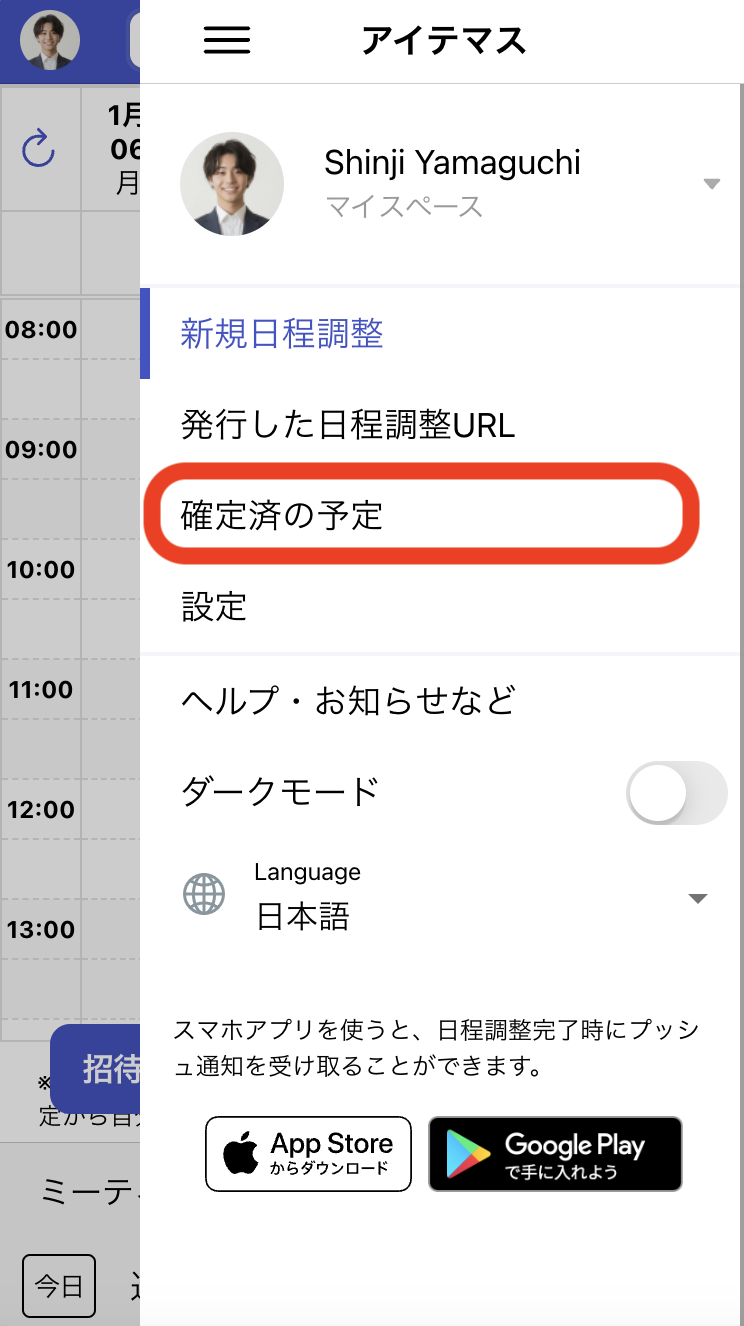
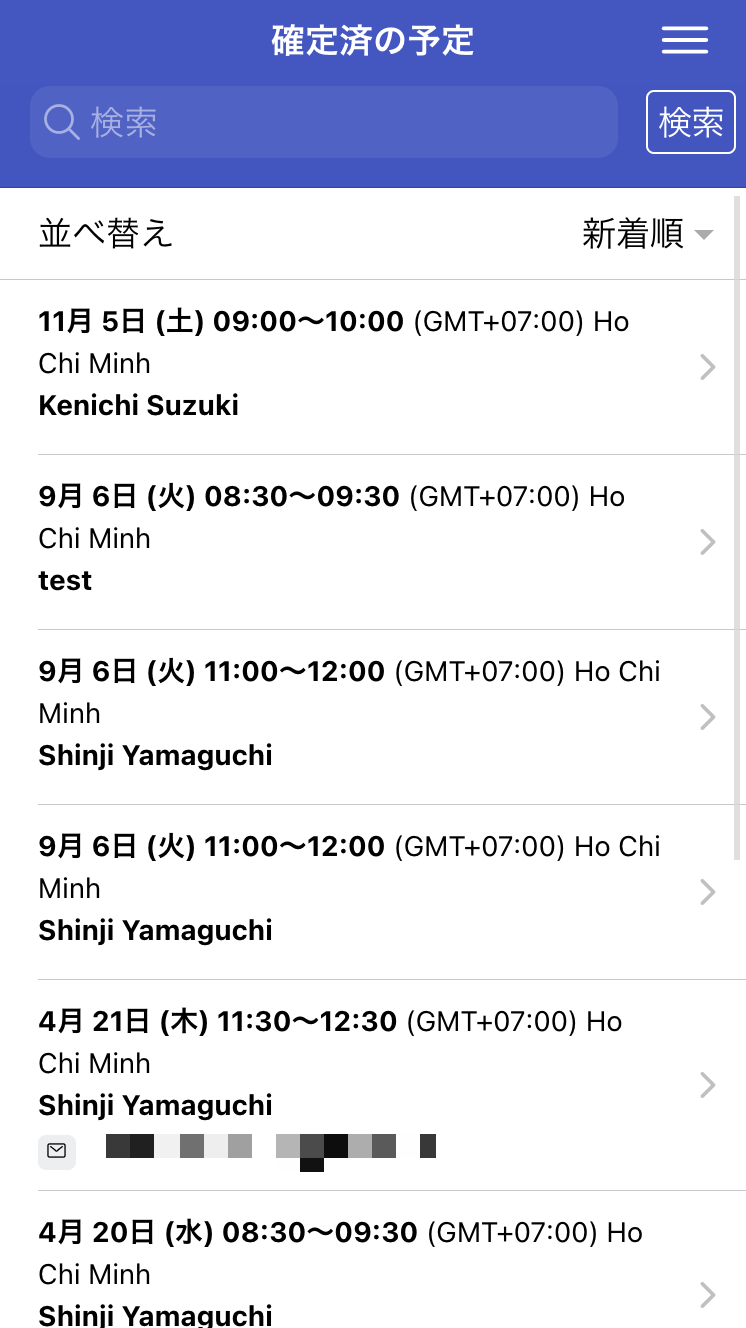
Please access with the creator account.
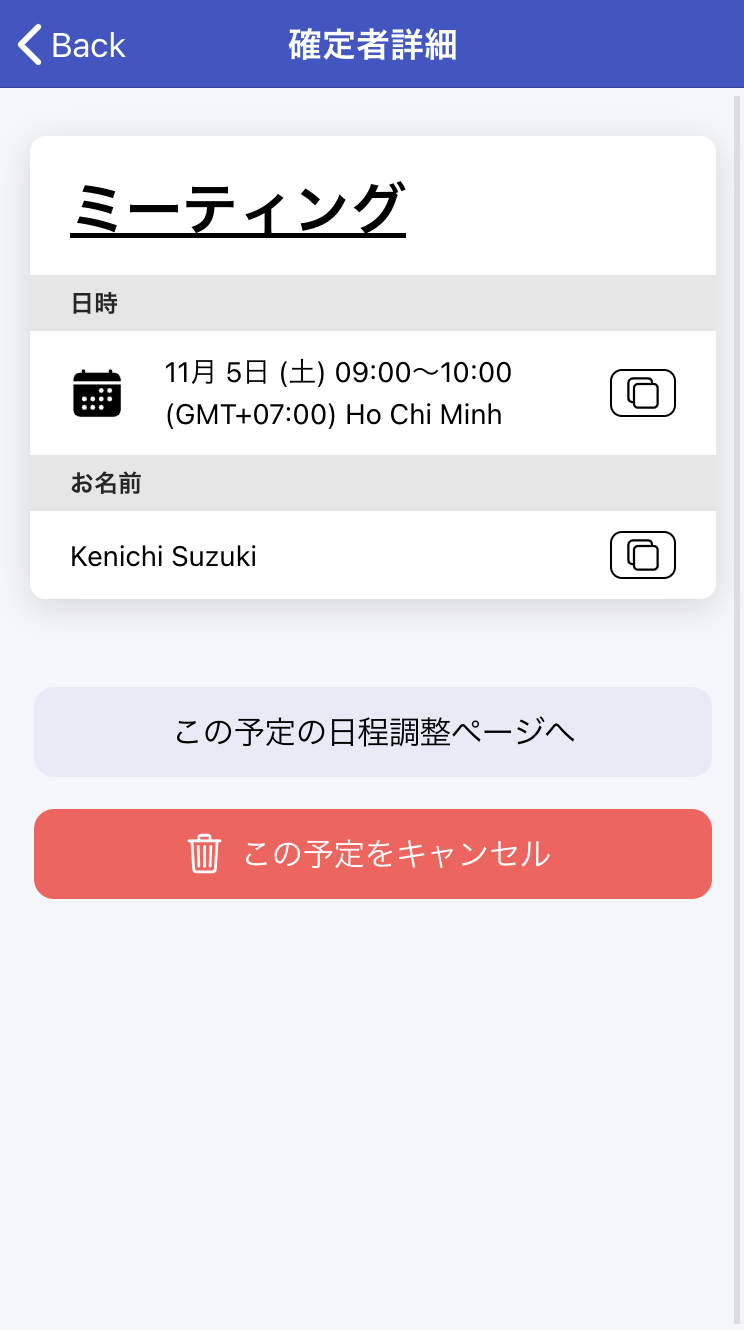
You can optionally enter a cancellation reason. After cancellation, the event will be marked as cancelled in everyone's Google Calendar.
Similar to step 2, the event will be marked as cancelled in everyone's Google Calendar.
You can optionally enter a cancellation reason. After cancellation, the event will be marked as cancelled in everyone's Google Calendar.
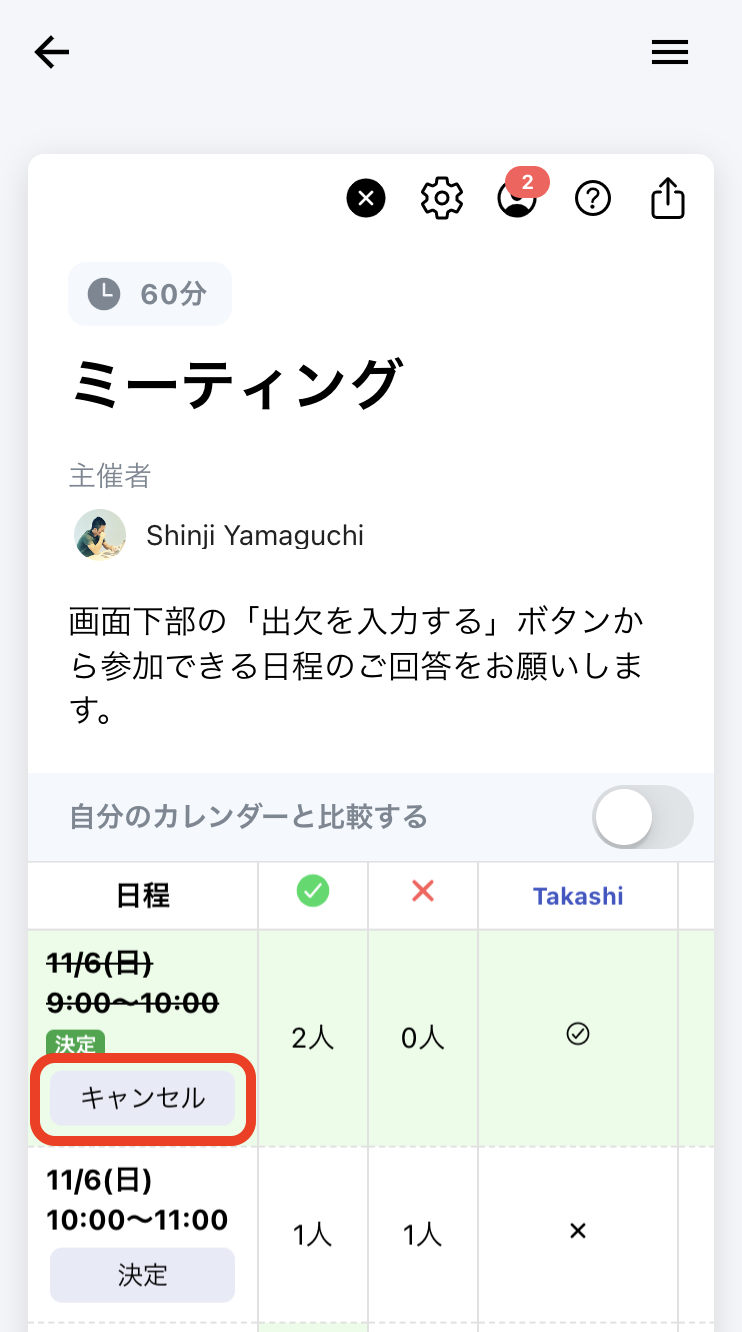
For poll-type schedules, the cancellation process differs from regular schedule coordination.
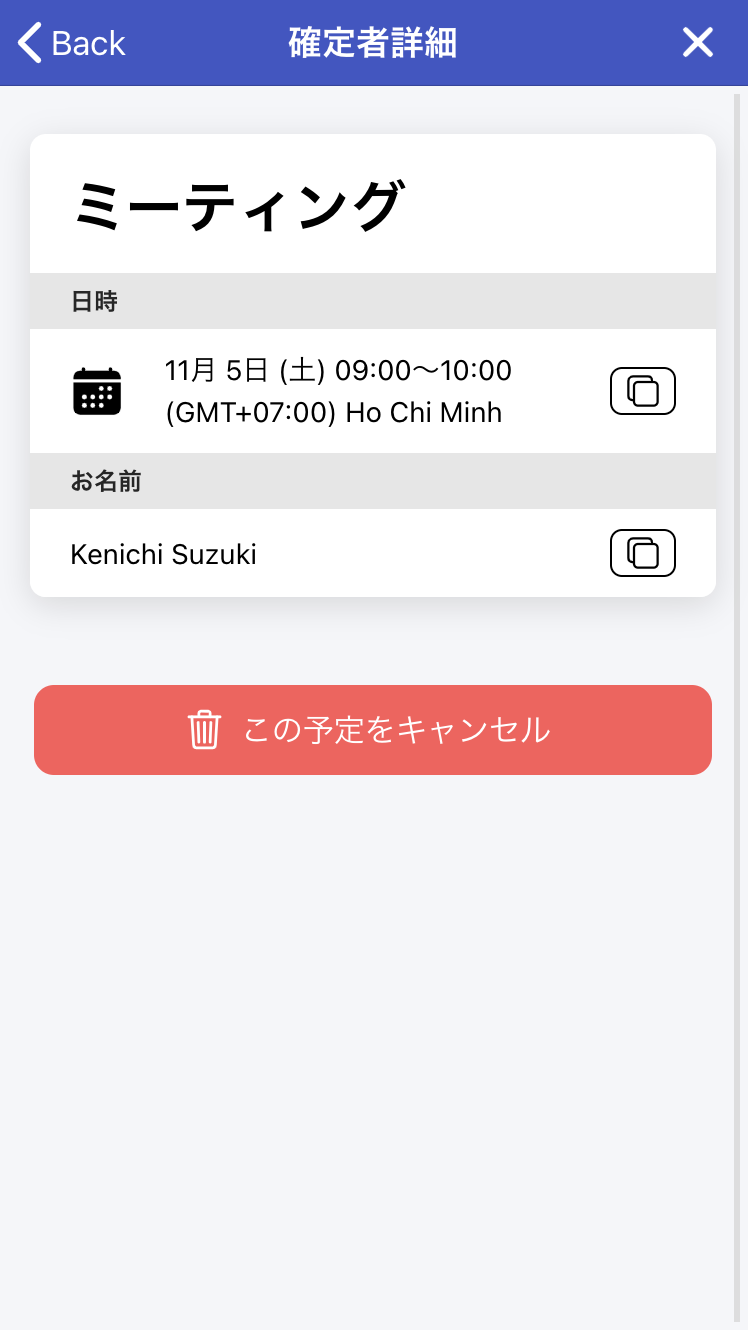
Click the "Cancel" button shown on the confirmed date. Please note that this operation will delete the schedule for all participants, and individual cancellations are not possible. For individual cancellations, participants need to directly manage their Google Calendar events.
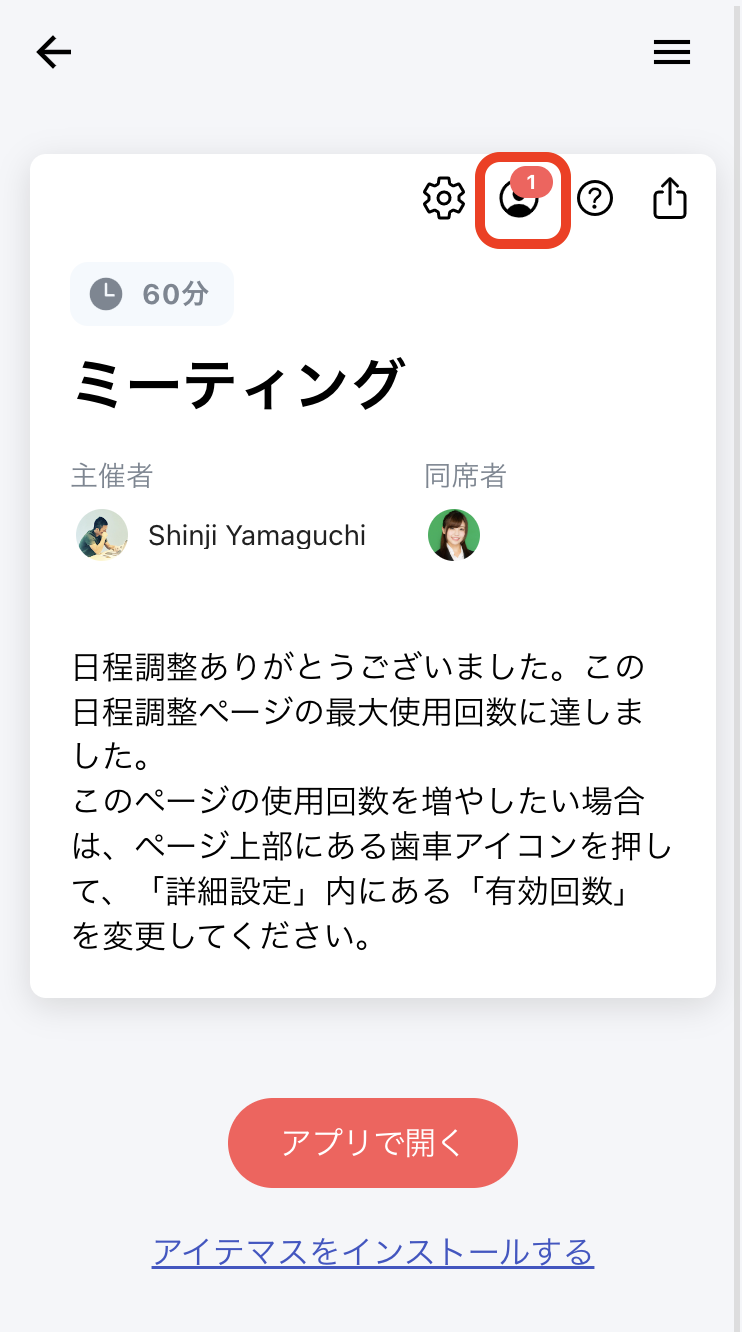
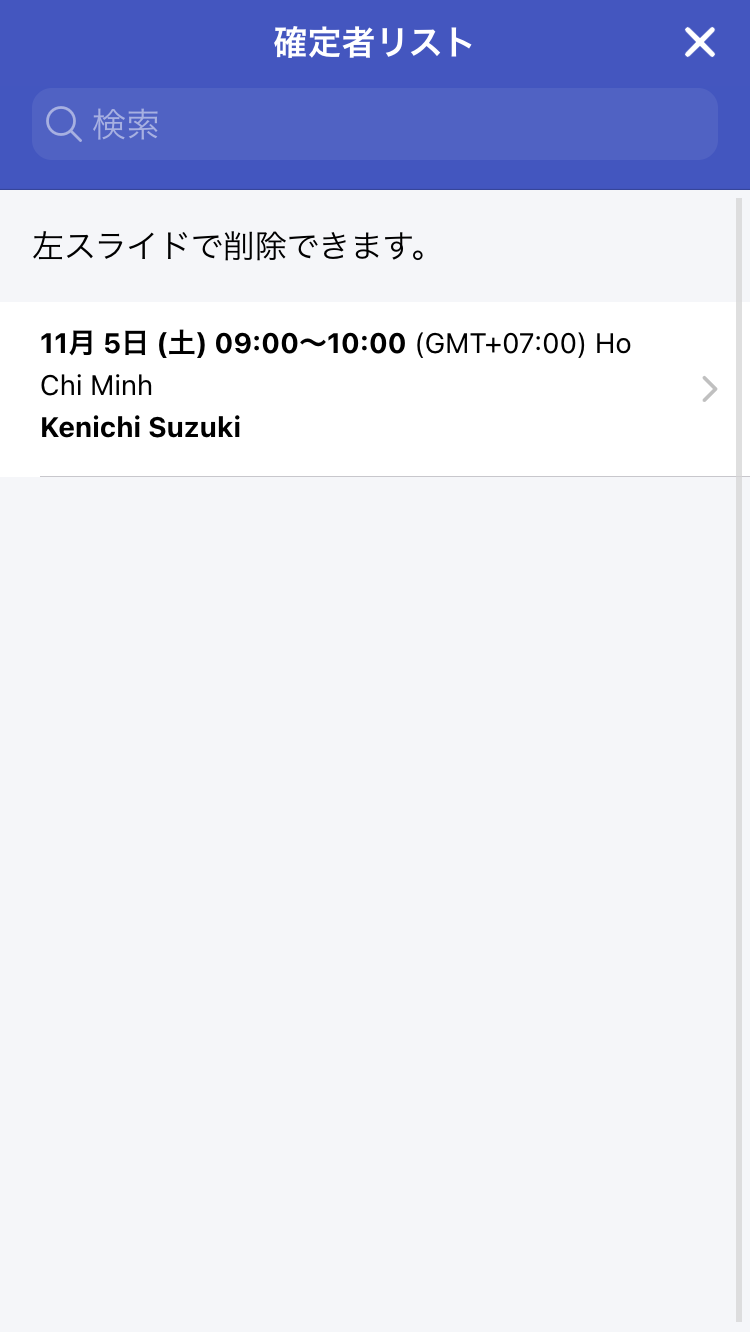
Before confirming the schedule, you can delete individual respondents or edit responses. Click on the respondent's name.

Click the "Delete Response" button on the displayed screen to remove individual responses. You can also edit other response details.

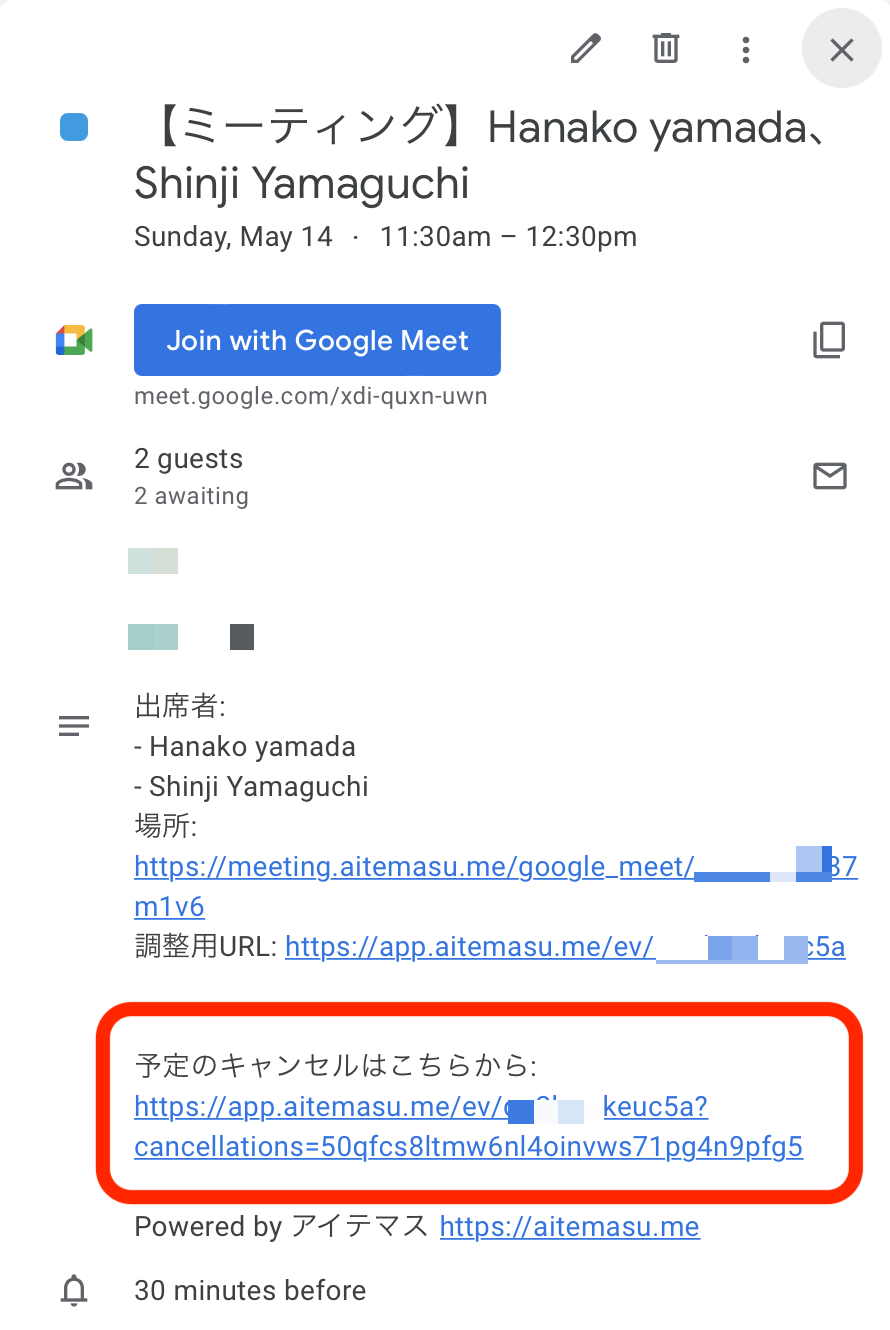
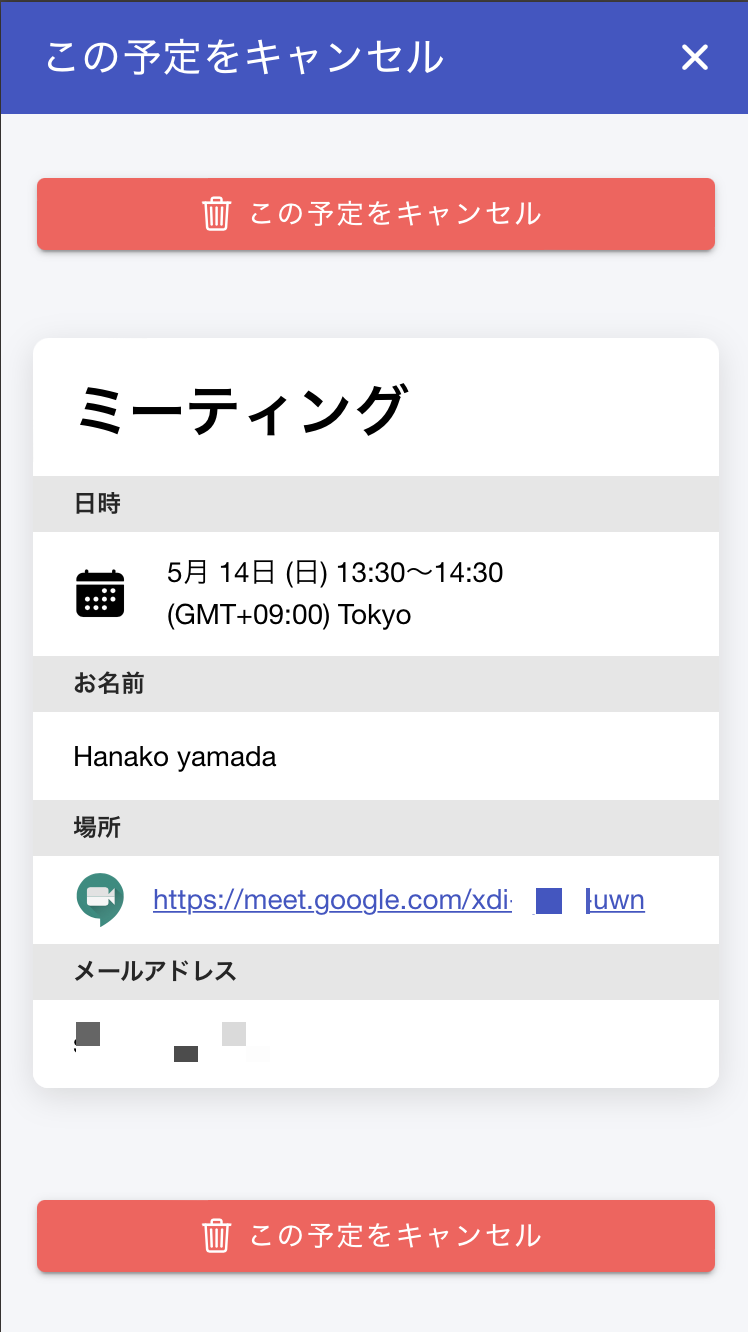
When a schedule is confirmed and the attendee has provided their email address, they will receive a Google Calendar invitation email containing a cancellation link. Click this link.
After clicking the cancellation link, this page will open. Click the cancel button.
Enter the name of the person canceling and the reason for cancellation. Both fields are required.
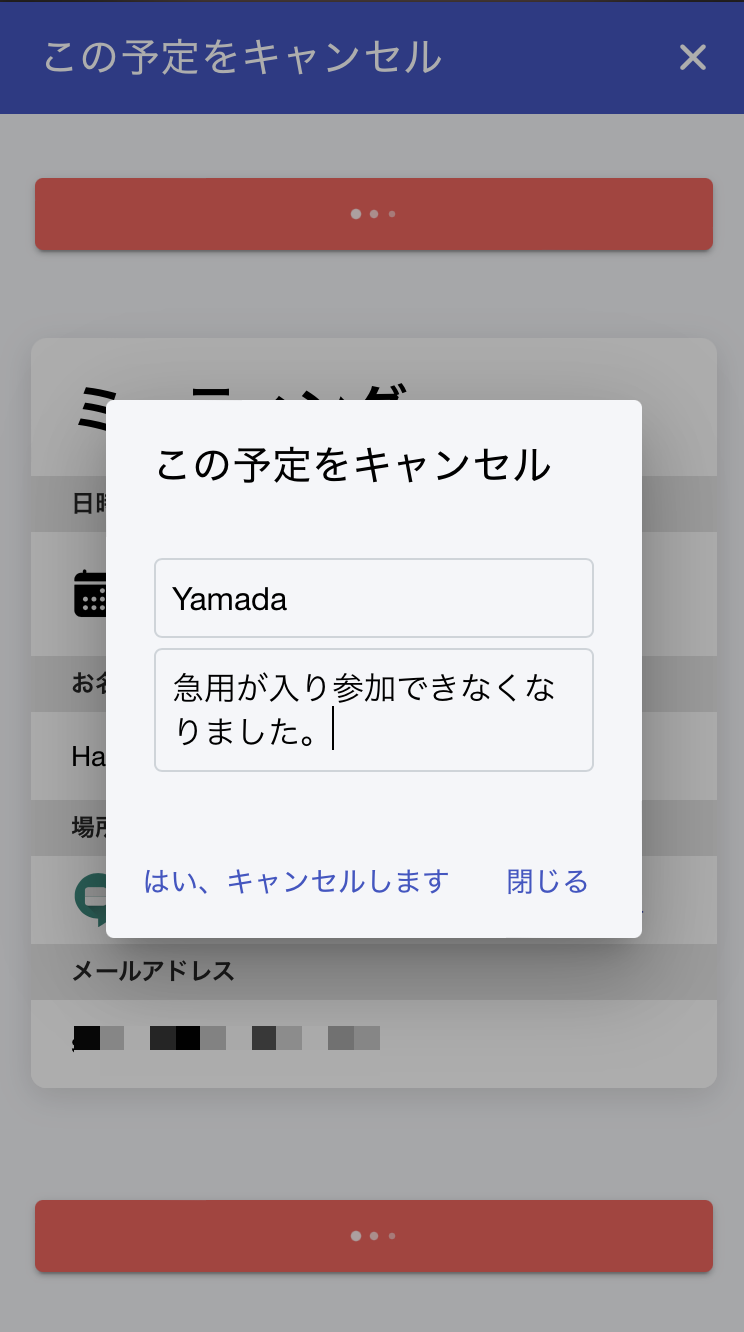
The corresponding Google Calendar event will be updated as cancelled, and all participants will be marked as absent. The cancellation reason will also be included in the event details.
