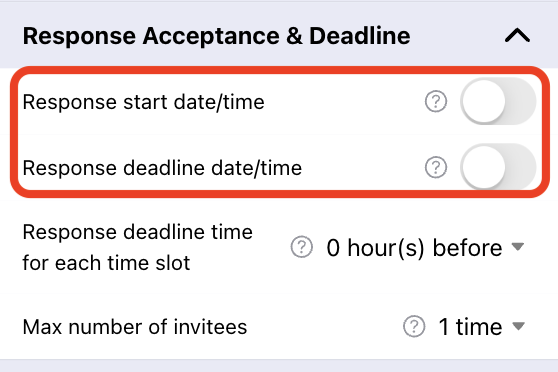
When creating a scheduling page URL or in template settings, enter the
"Response start date/time" and "Response deadline date/time".
If a start date/time is set, participants will not be able to respond on the scheduling page
until that time.
If an end date/time is set, participants will no longer be able to respond on the scheduling
page after that time.
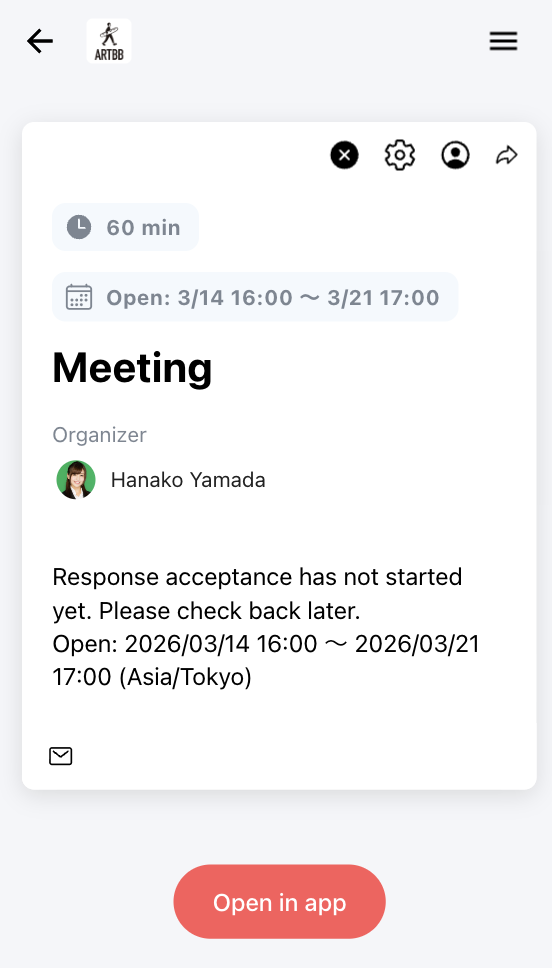
Before the response acceptance start date/time, participants will see a message indicating that responses are not yet being accepted.
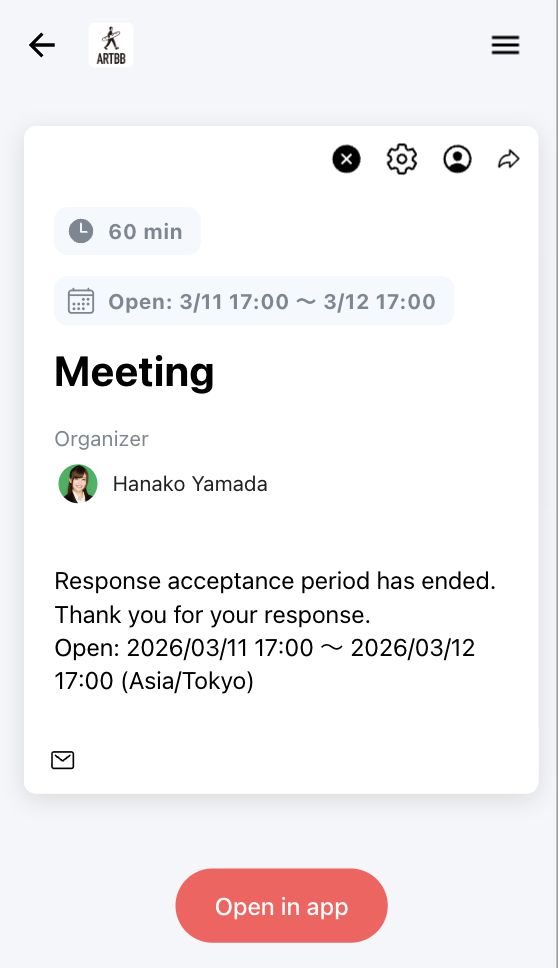
After the response acceptance end date/time has passed, the scheduling page will be displayed as shown.
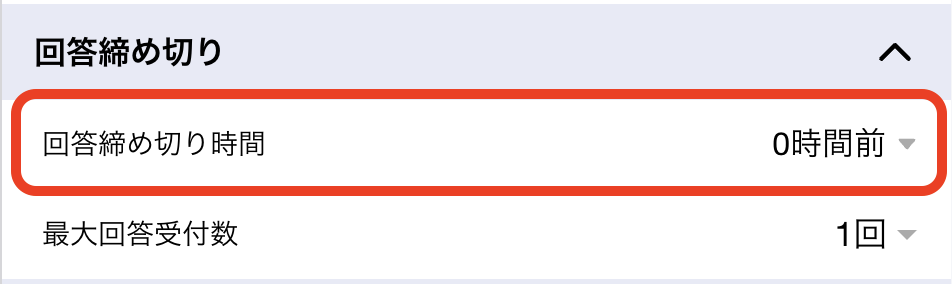
When creating a scheduling page URL or in template settings, enter the
"Response deadline time for each time slot".
For select type scheduling, each proposed date/time will close for responses at the
specified time before the event. For example, if you set "1 hour before" and propose time
slots for October 1st at 9:00-10:00 and 12:00-13:00, the first slot will become unavailable
at 8:00 AM on October 1st, while the second slot remains available until its deadline.
For availability-based coordination, the schedule page will show times from current time
plus the specified duration as "Scheduled".
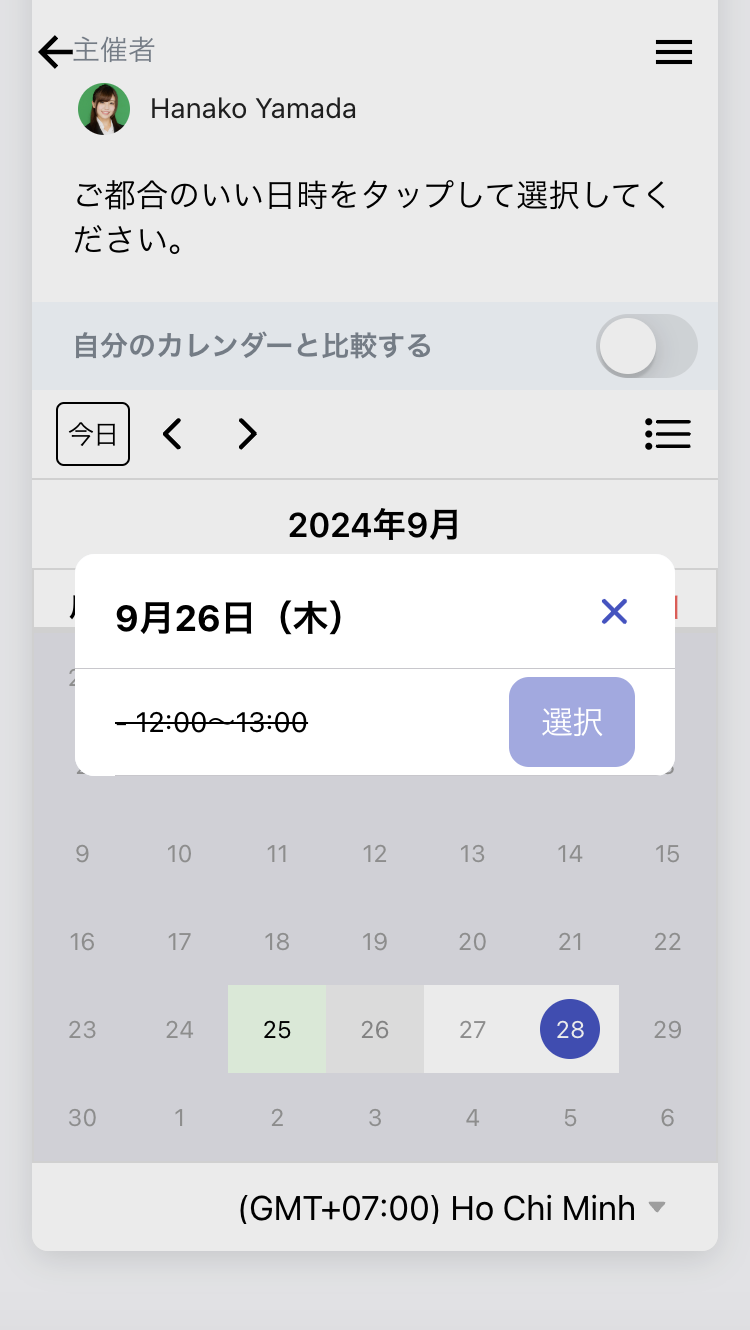
As explained in step 1, time slots past their deadline will be shown as unavailable on the
scheduling page.
Time slots that haven't reached their deadline remain
available for selection.
When creating a scheduling page URL or in template settings, enter the
"Max number of invitees".
When the number of responses reaches this limit, all time slots on the scheduling
page will automatically become unavailable.
Note: This setting is ignored for availability-based public link format.

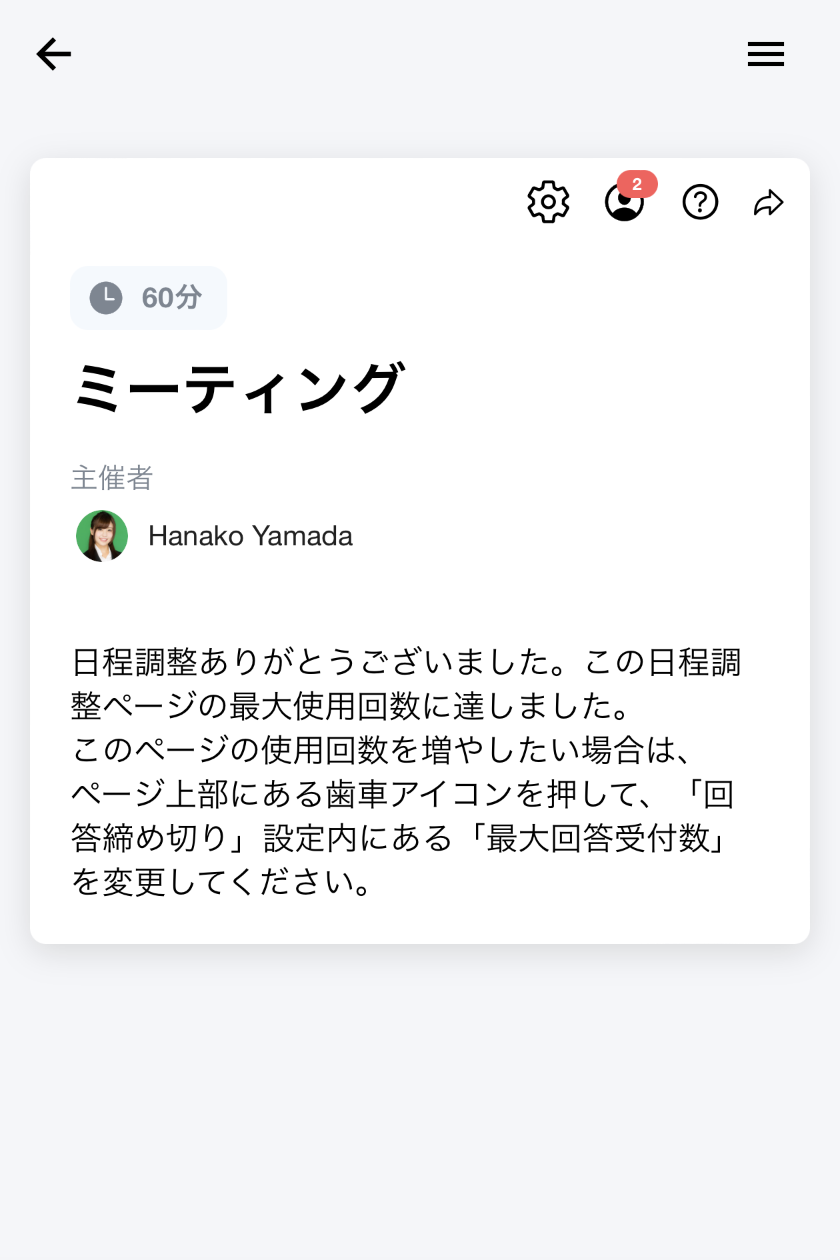
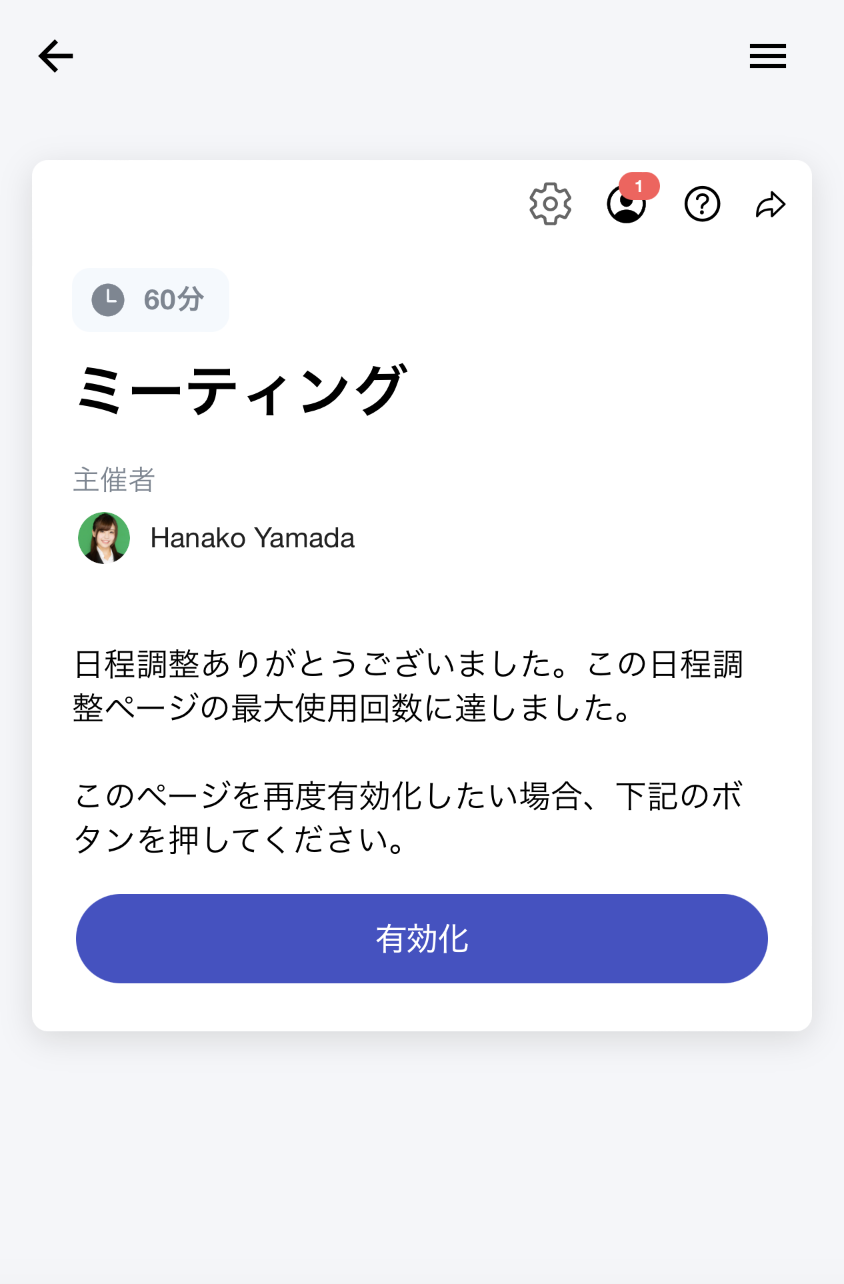
When the maximum number limit is reached, participants will see the display shown in the image.

When accessing with the creator's account, you'll see the display shown in the image. Following the instructions, you can reactivate the page by increasing the "Max number of invitees" in settings.
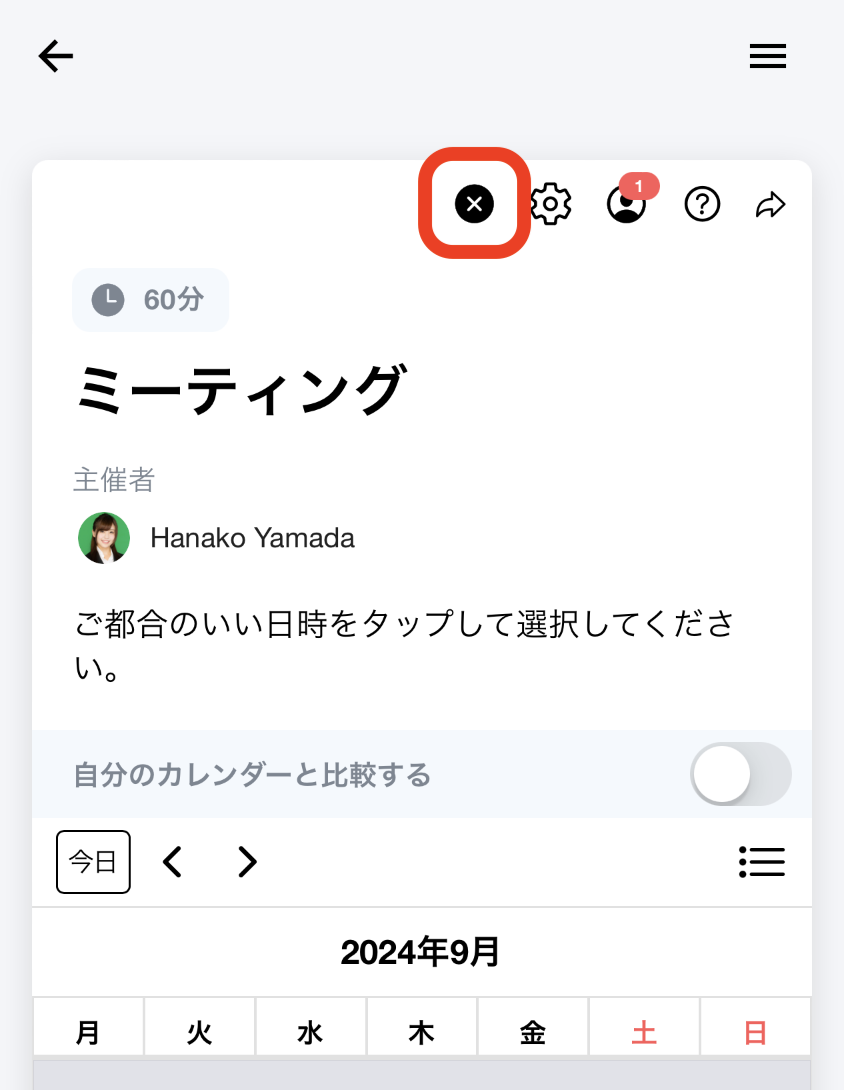
When accessing with the creator's account, the ✕ button at the top of the scheduling page serves as the end button.
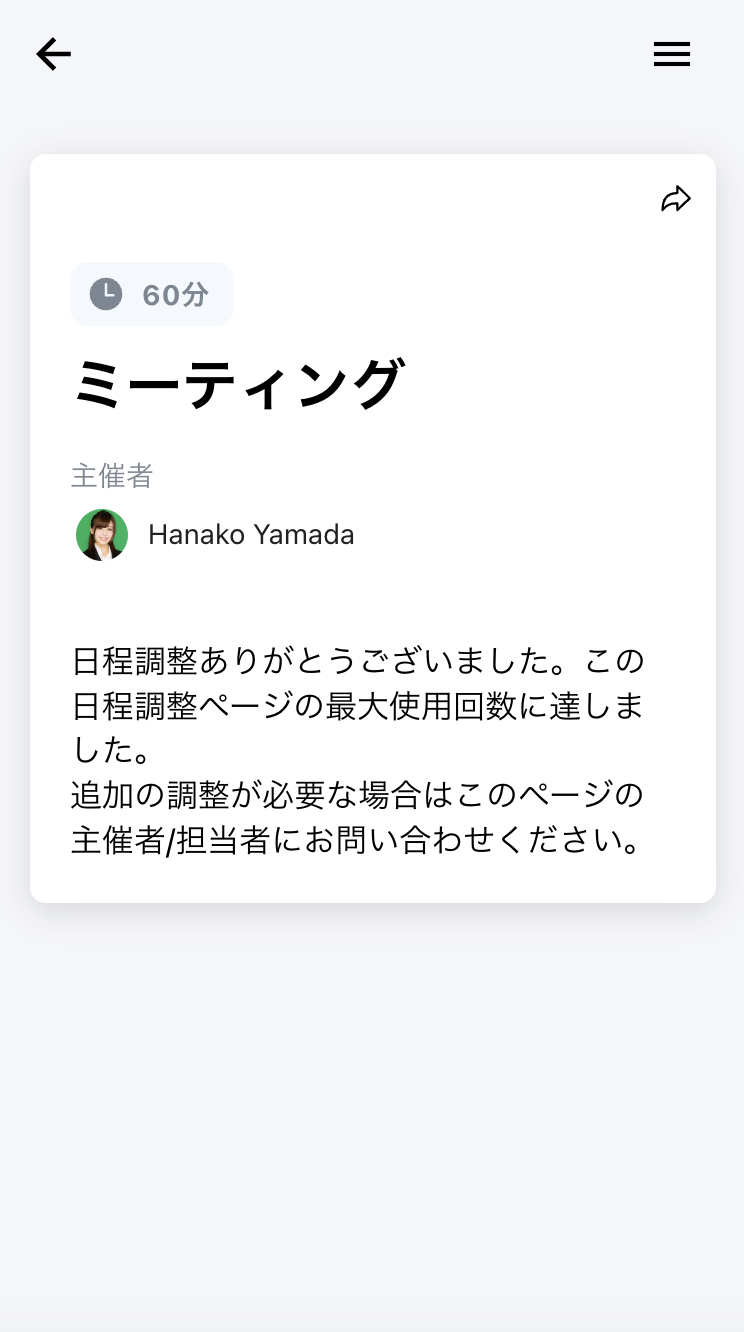
Participants will see the display shown in the image for ended scheduling pages.
When accessing an ended scheduling page with the creator's account, you'll see a "Reopen" button. Clicking it will make the page available for scheduling again.
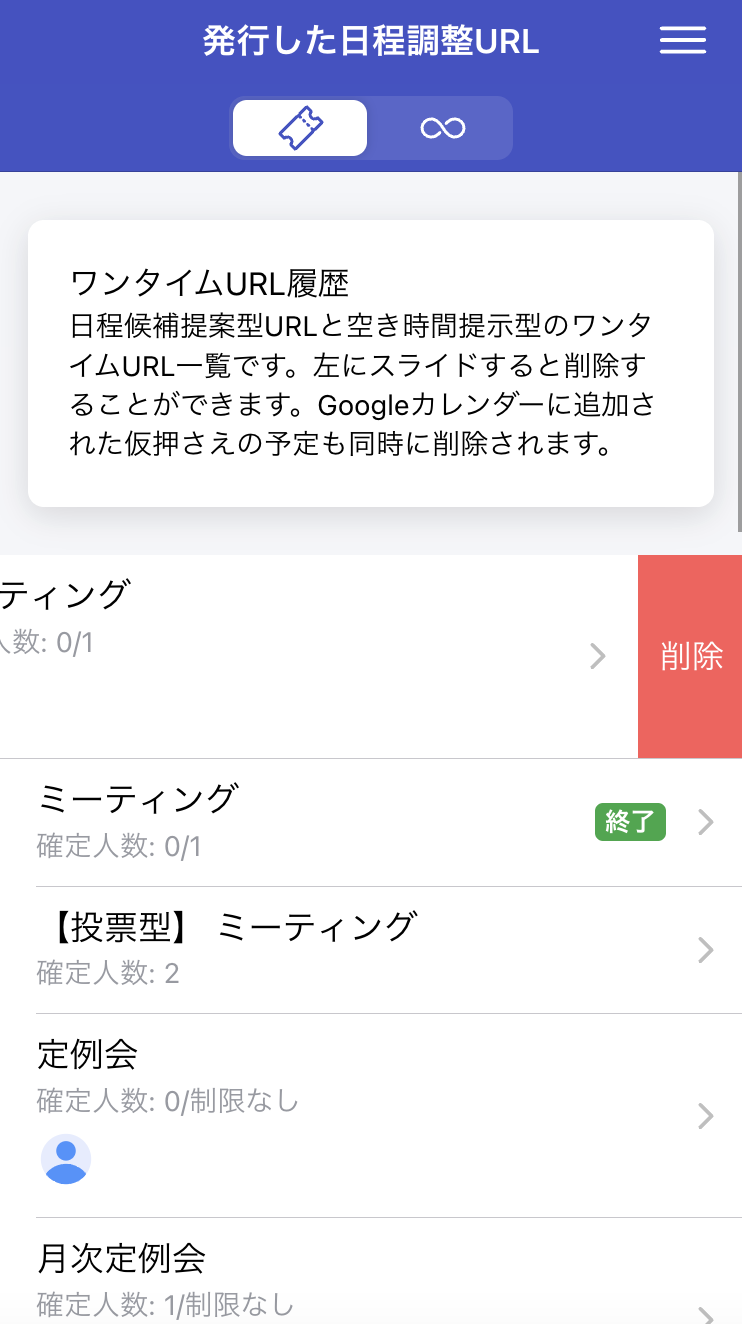
For one-time URLs, you can delete a scheduling page by sliding the row to the left on the issued scheduling page URL list page.
For availability-based public URLs, you can delete the scheduling page by clicking the delete button in template settings.

Confirmed event data remains even after ending or deleting a scheduling page. However, while you can normally check confirmed event information for each scheduling page individually, if you delete a scheduling page, the confirmed event information can only be viewed from the Scheduled Events list page.