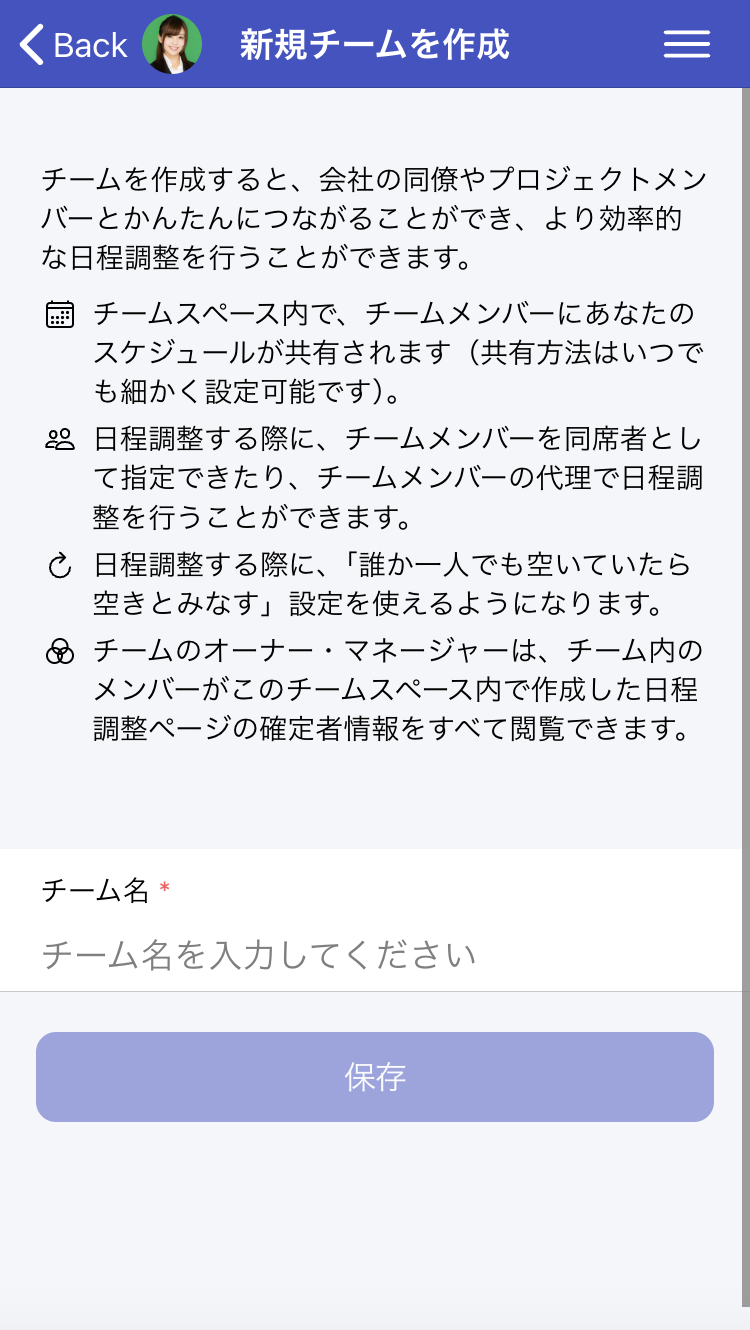
Using team features allows you to easily connect with colleagues and project members for more efficient scheduling.
The team name entered here will only be visible on the team invitation page and to team members.
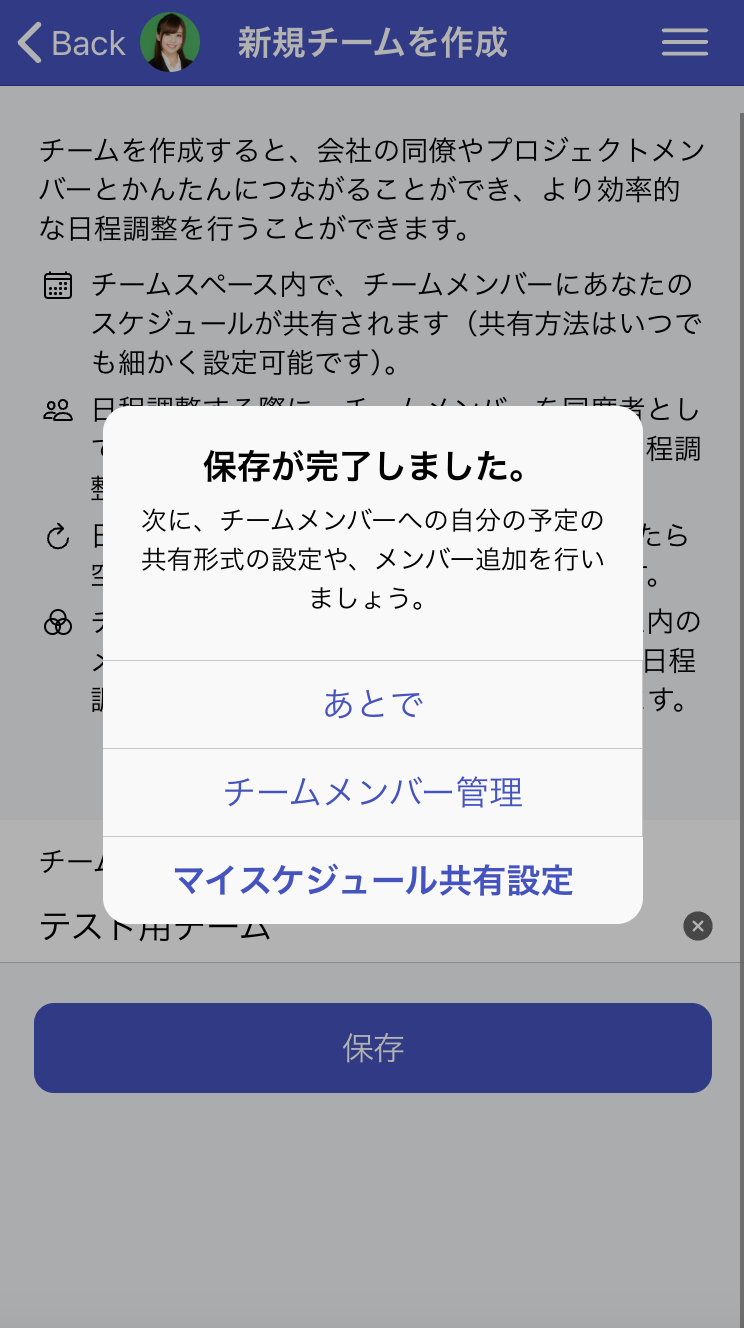
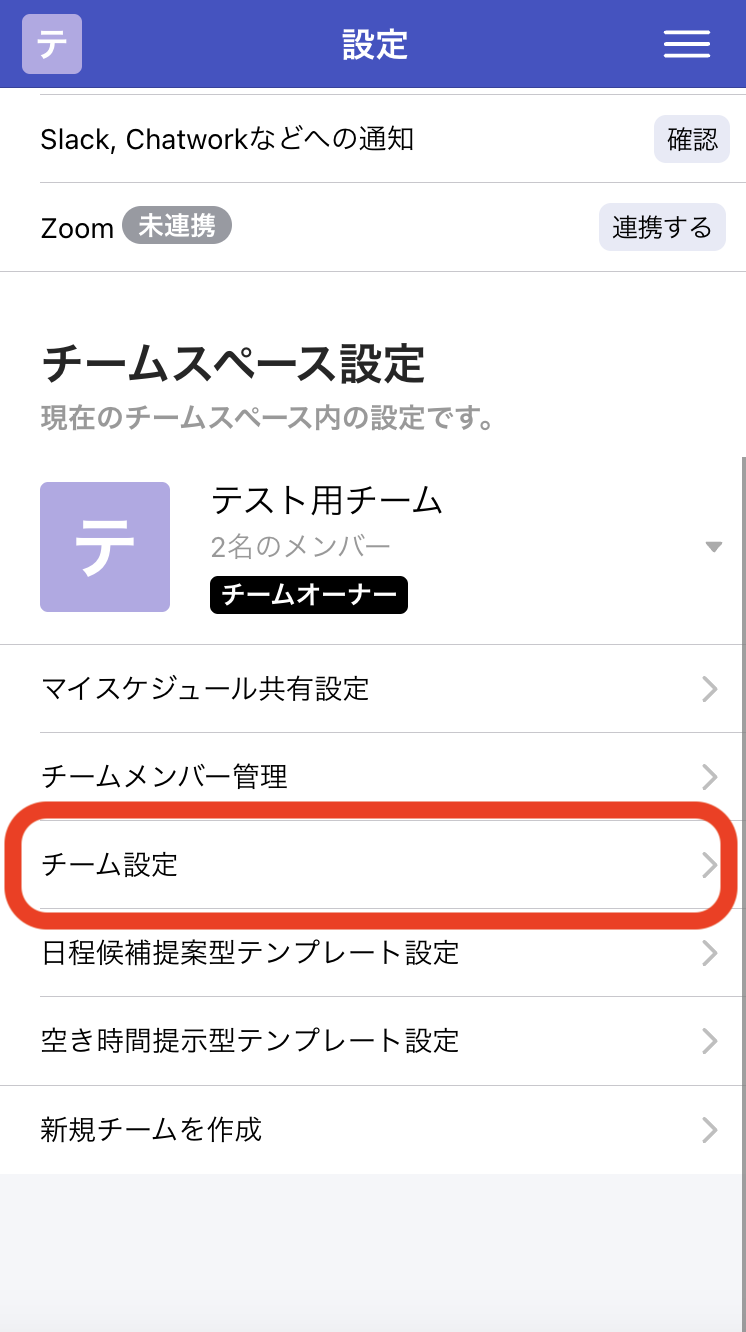
Team creation is now complete. You become the team owner, and a team space is created. If you want to configure additional settings, please go to the team details page.
There are three roles within a team space, each with different permissions.
| Role | Description |
|---|---|
| Team Member | Can perform basic operations within the team space (such as scheduling with other members as participants). |
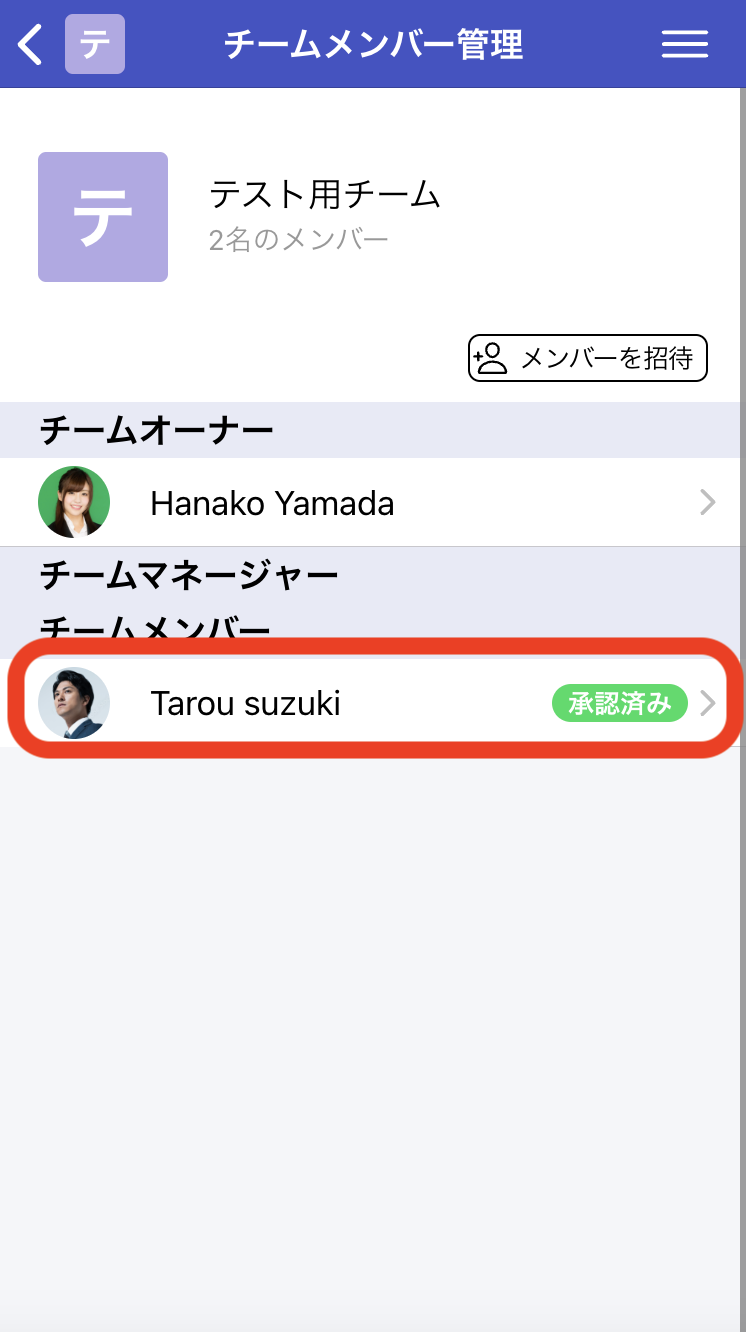
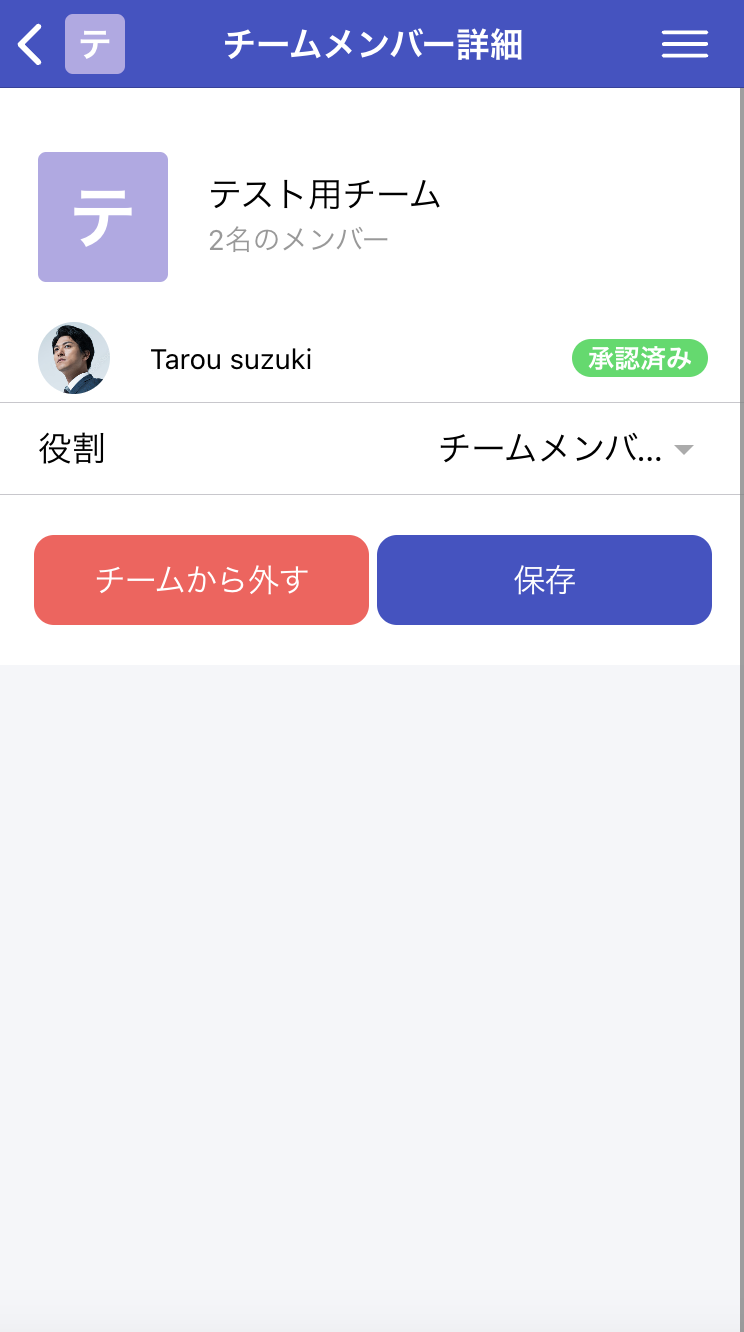
| Team Manager | In addition to basic operations, can view all members' confirmed participant information, change member roles, and remove team members. |
| Team Owner | Can perform all operations within the team space, including basic operations, manager operations, changing team settings, and approving team join requests. |
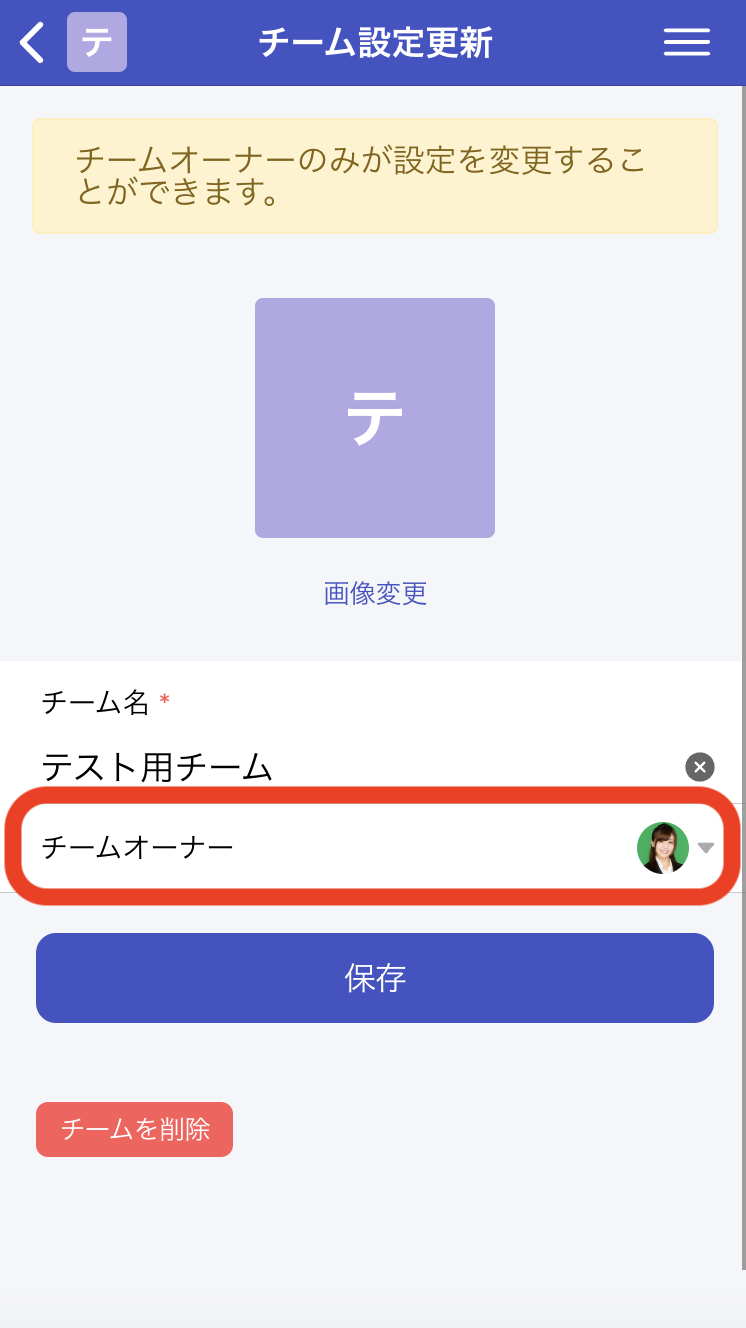
*Manager and member roles can be changed from Team Member Management, and team owner can be changed from Team Settings.

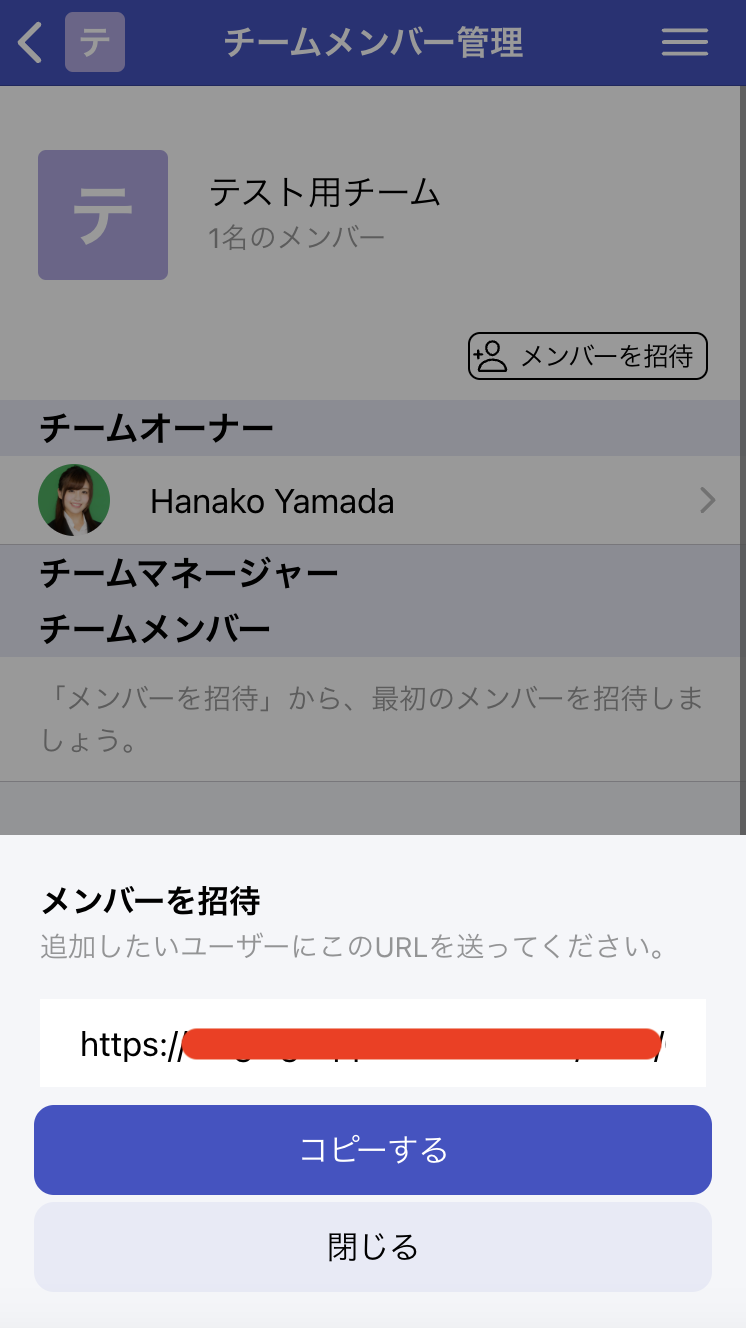
Send this URL via email or other means to the users you want to invite to the team.
At this point, they can also configure how their schedule will be displayed to team members. For details, see How Your Schedule is Handled by Team Members.
![3. [Invitee's action] Access the team invitation page and click Send Join Request](https://en.aitemasu.me/images/en/help/team/invite_user_3_join_team.png)
Join request notifications are sent via email and mobile app push notifications.
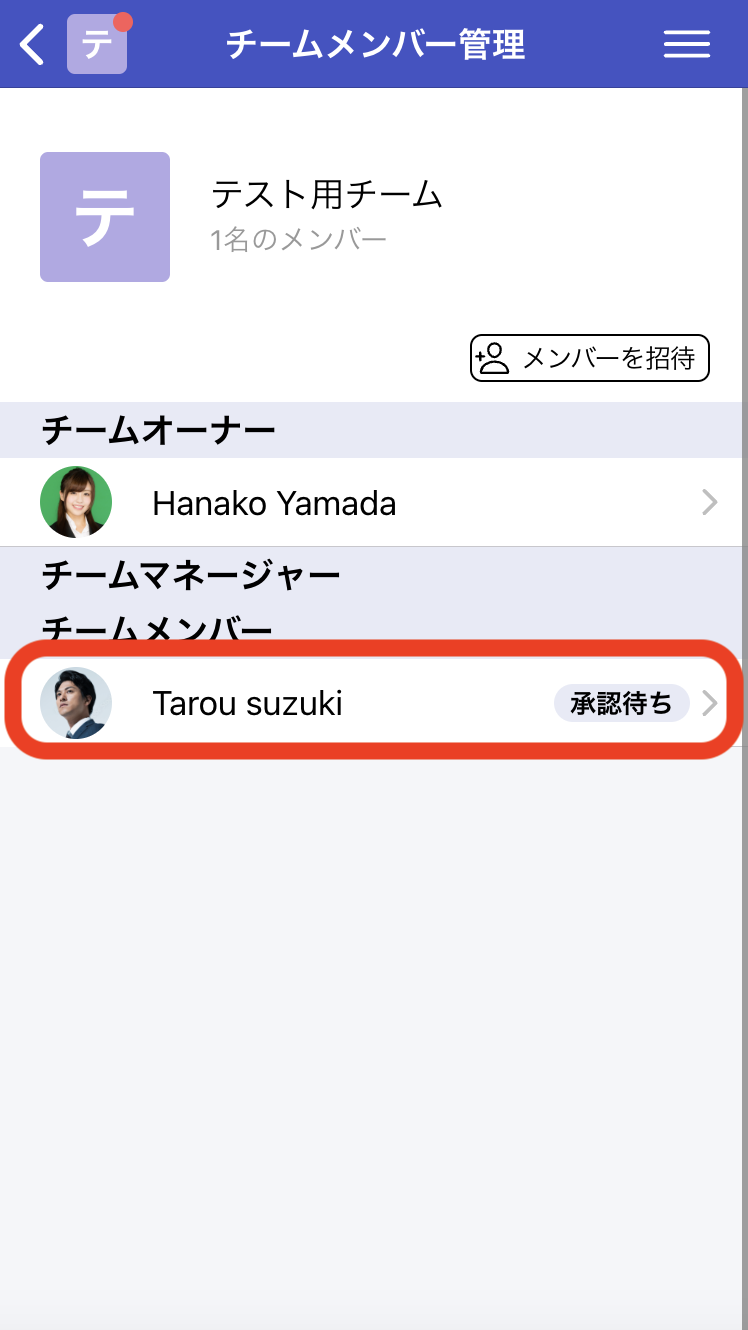
This completes the user invitation process.
In My Schedule Sharing Settings or when applying to join a team, you can configure how your schedule will be handled when other team members designate you as a participant in their scheduling. These settings can be changed at any time.
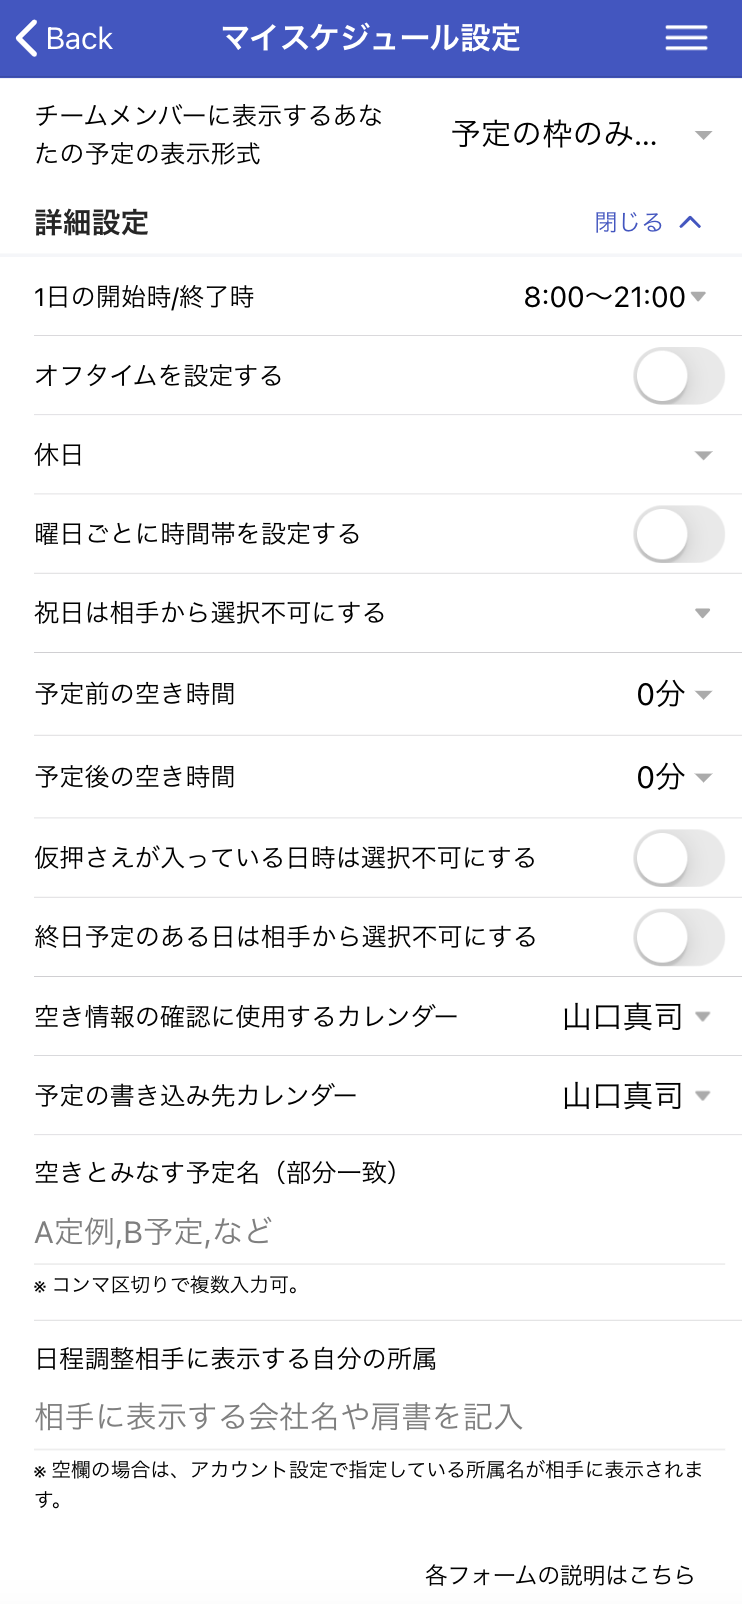
You can choose whether to show or hide the details of your events on the calendar when
other team members create new scheduling pages. If you choose to "See all event details",
your event
names will be visible to team members. If you choose to "See only free/busy (hide details)",
only the time blocks
of your schedule will be shown without the event names.
Note that your event names are always hidden on scheduling pages where team members have
added you as a participant.
Your events from the Google Calendars specified here will be shown to others. You can select multiple calendars from those synchronized with your Aitemasu account for availability checking.
When team members designate you as a participant, tentative holds and confirmed schedules will be written to the calendar specified here.
Your calendar will be blocked from selection by others based on the holiday calendar specified here.
When turned ON, days with all-day events in your Google Calendar will be blocked from selection by others.
When turned ON, the event on your Google Calendar will be automatically accepted when the schedule is confirmed.
When turned ON, the "Free" event on your Google Calendar will be treated as busy when the schedule is confirmed.
Even if your Google Calendar is empty, only times within the range specified here will be shown as available to team members.
When turned ON, you can freely specify off-time periods such as lunch breaks, and these periods will be blocked from being scheduled.
Days of the week specified here will be blocked as days off.
You can set daily start/end times and off-time periods individually for each day of the week.
This adds buffer time before and after each event in your Google Calendar, blocking more time than the actual event duration when shown to others. Use this when you want to account for preparation time, breaks, or travel time between events.
When turned ON, times with tentative holds created through Aitemasu in your Google Calendar will be shown as unavailable to others. When OFF, these times will be shown as available.
You can specify events that should be treated as available time even when they appear in
your Google Calendar. You can specify up to 8 terms, separated by commas.
For example, if you enter "regular", any event with "regular" in its name will be ignored
and treated as available time. Specifically, events like these would be ignored:
The job title specified here will be displayed to team members and on scheduling pages created by team members. If not specified, the job title set in your Aitemasu account will be displayed. Use this when you want to show different job titles to different people.
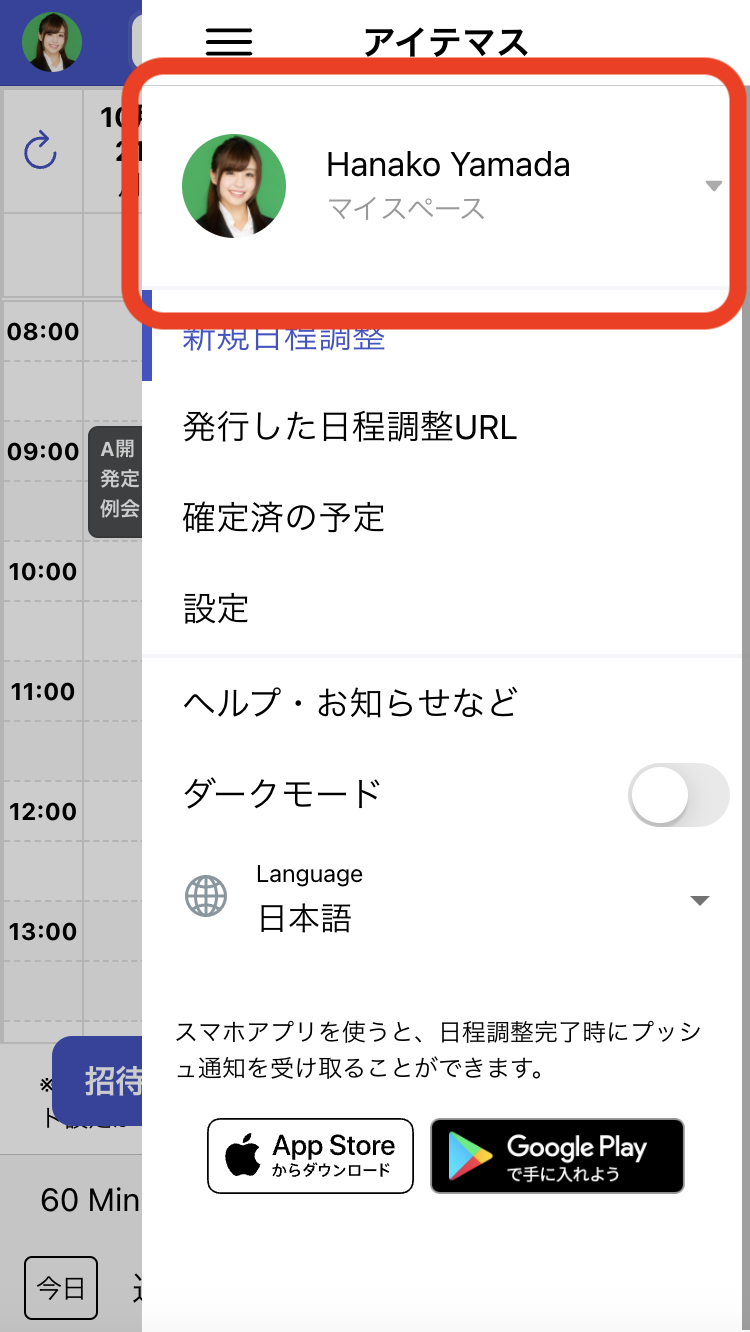
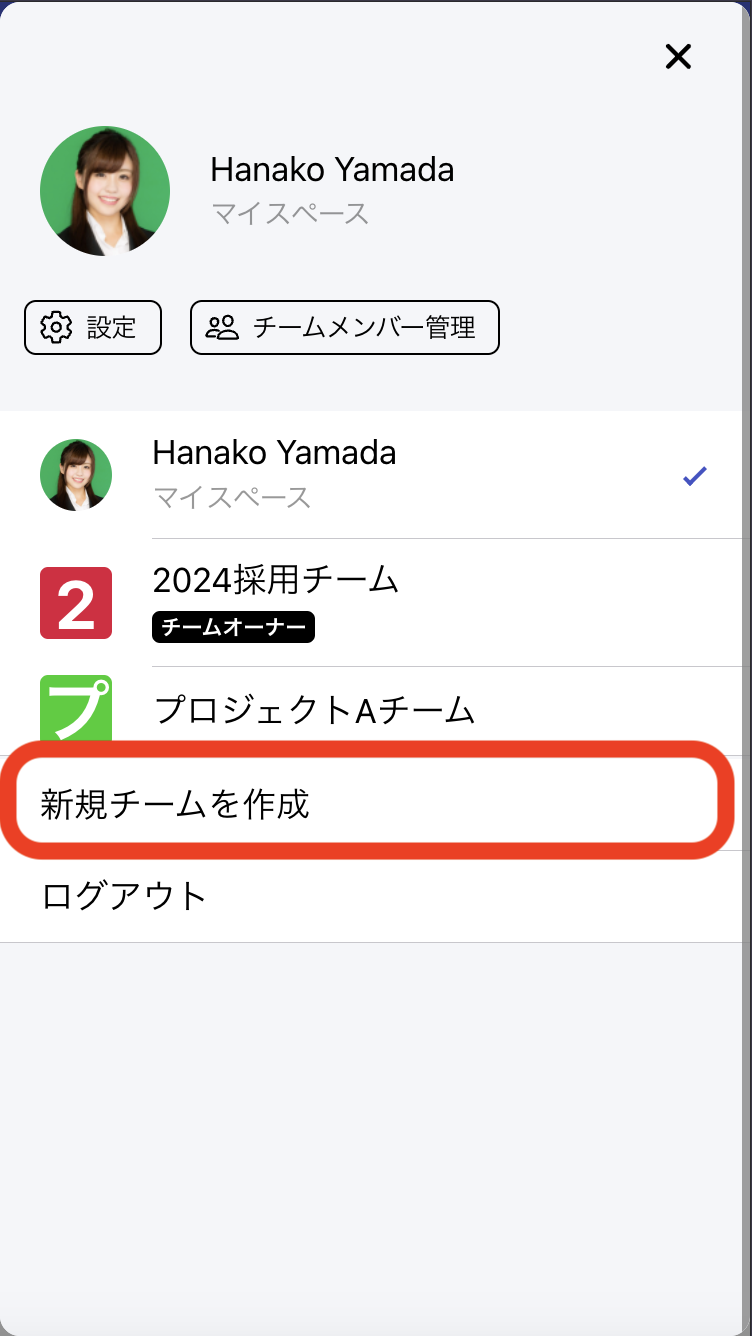
Make sure you've switched to the appropriate team space first.
This form exists in both Schedule Suggestion and Available Time Display types.
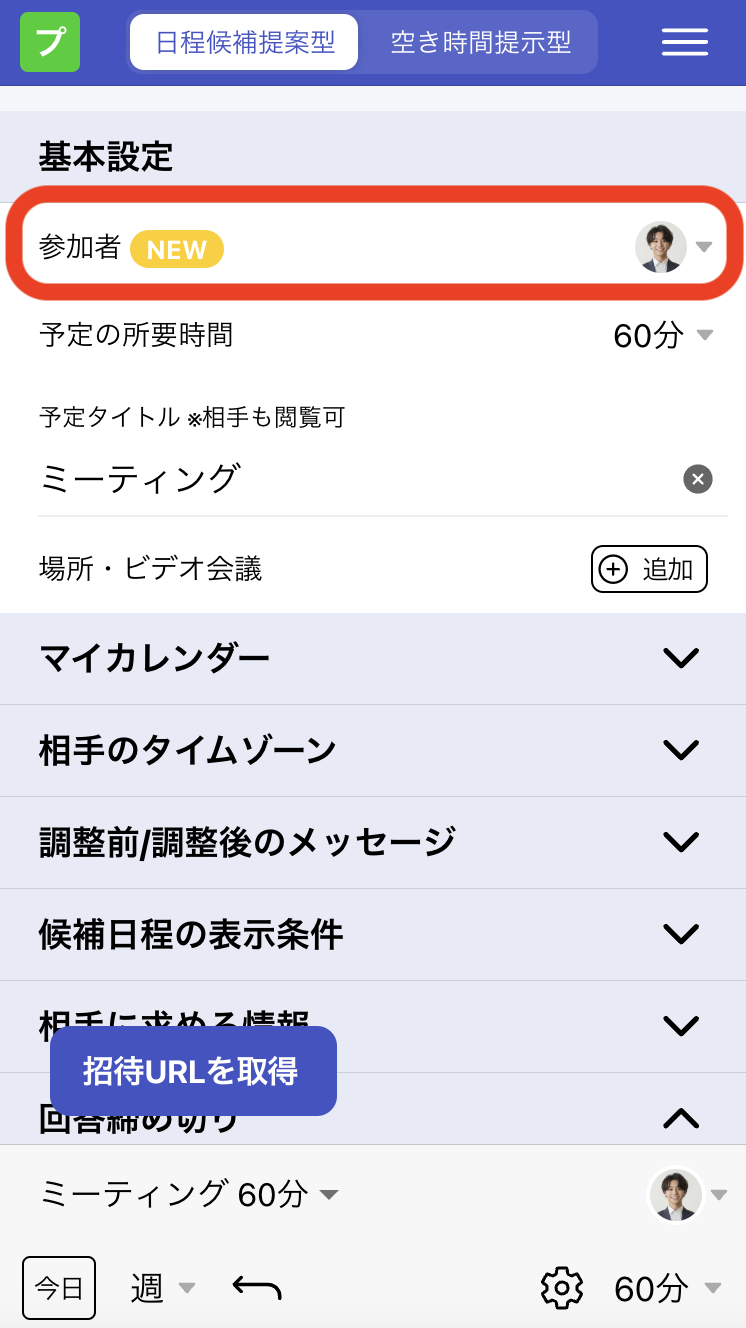
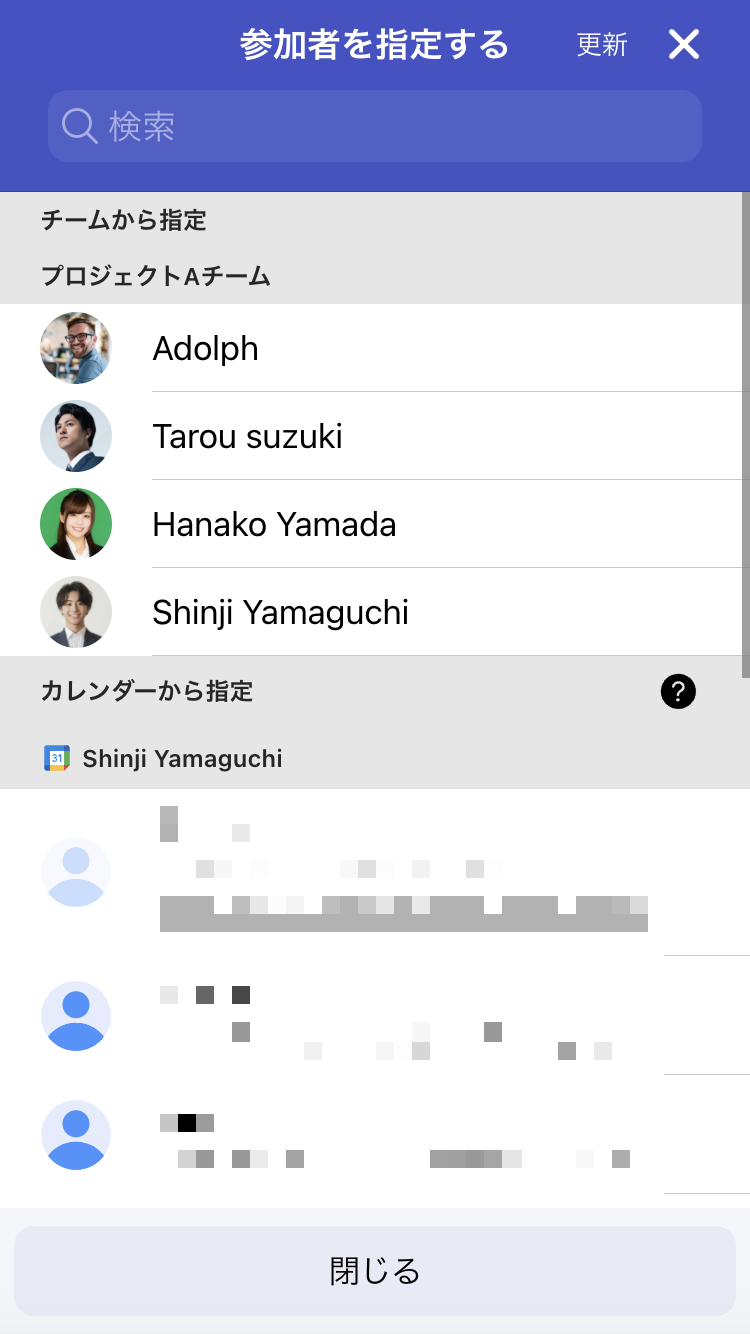
Click the button where you want to specify team members in the participants modal.
For
more details about this feature, please see here.
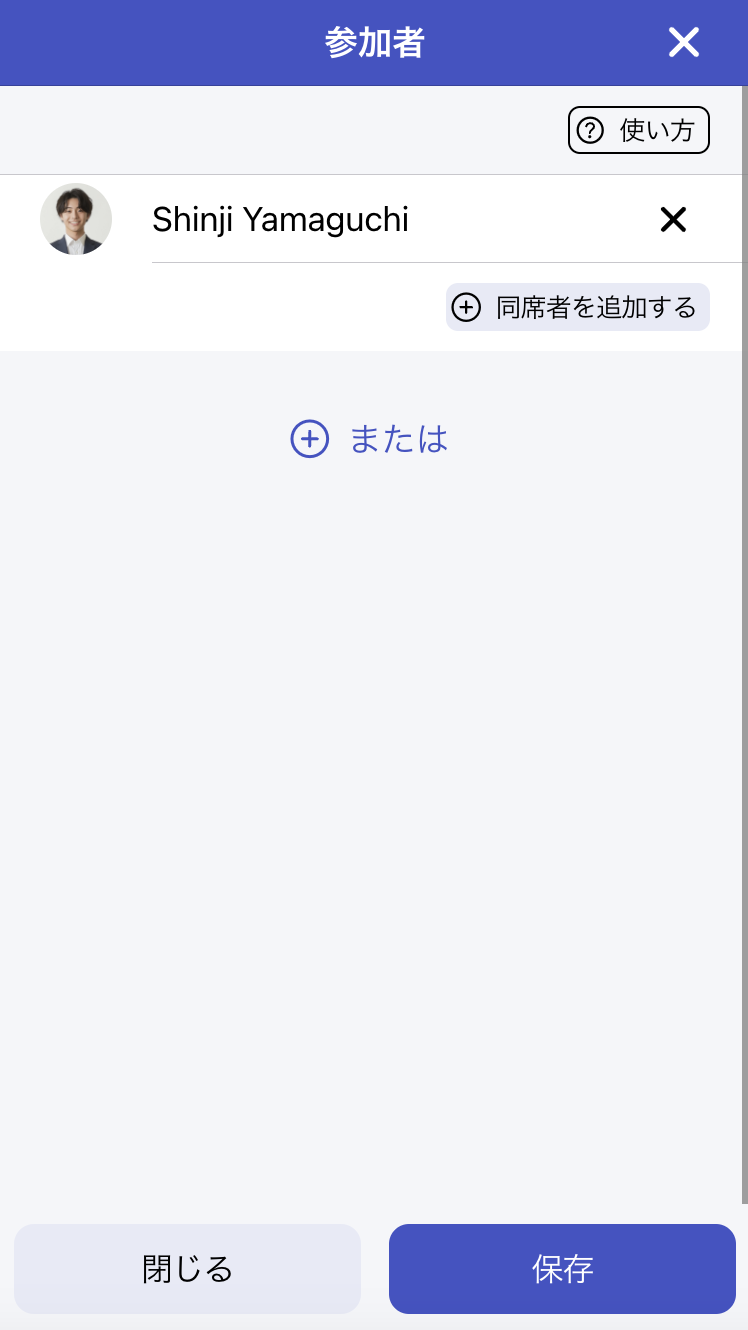
After clicking "Save" and closing the participants screen, team members' schedules will be
displayed in the calendar according to their My Schedule sharing settings.
For Available Time Display type, specify participants and generate the scheduling page as
usual.
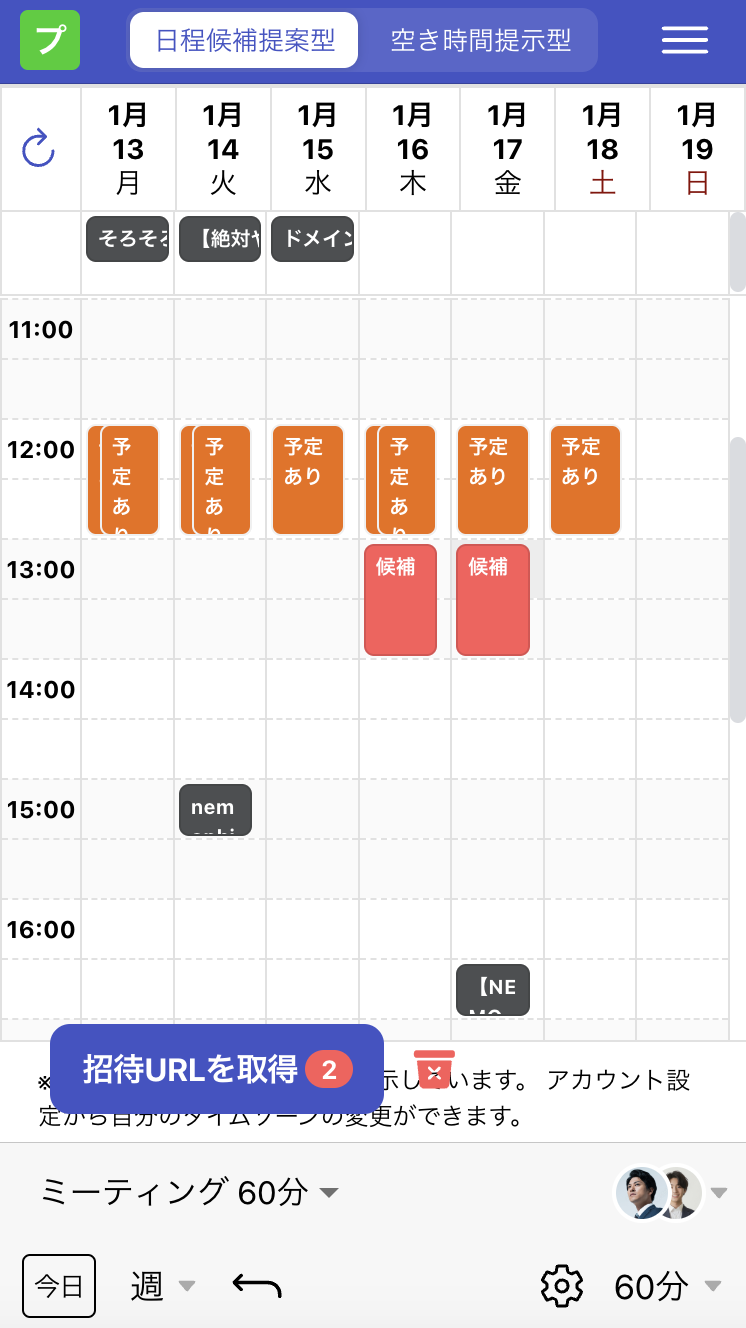
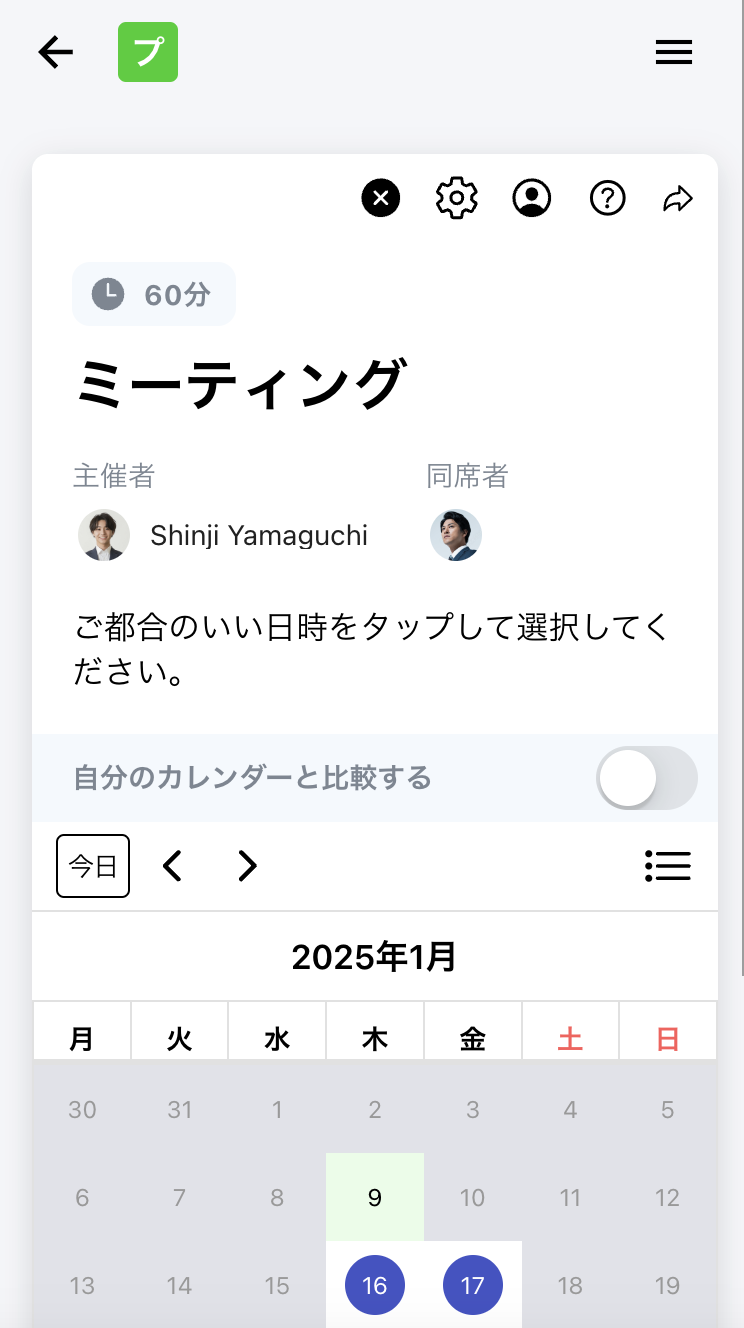
Members specified as participants will be displayed on the scheduling page.
Only time slots where all participants' latest Google Calendar schedules are available
can be selected (this varies depending on the participant combinations specified).
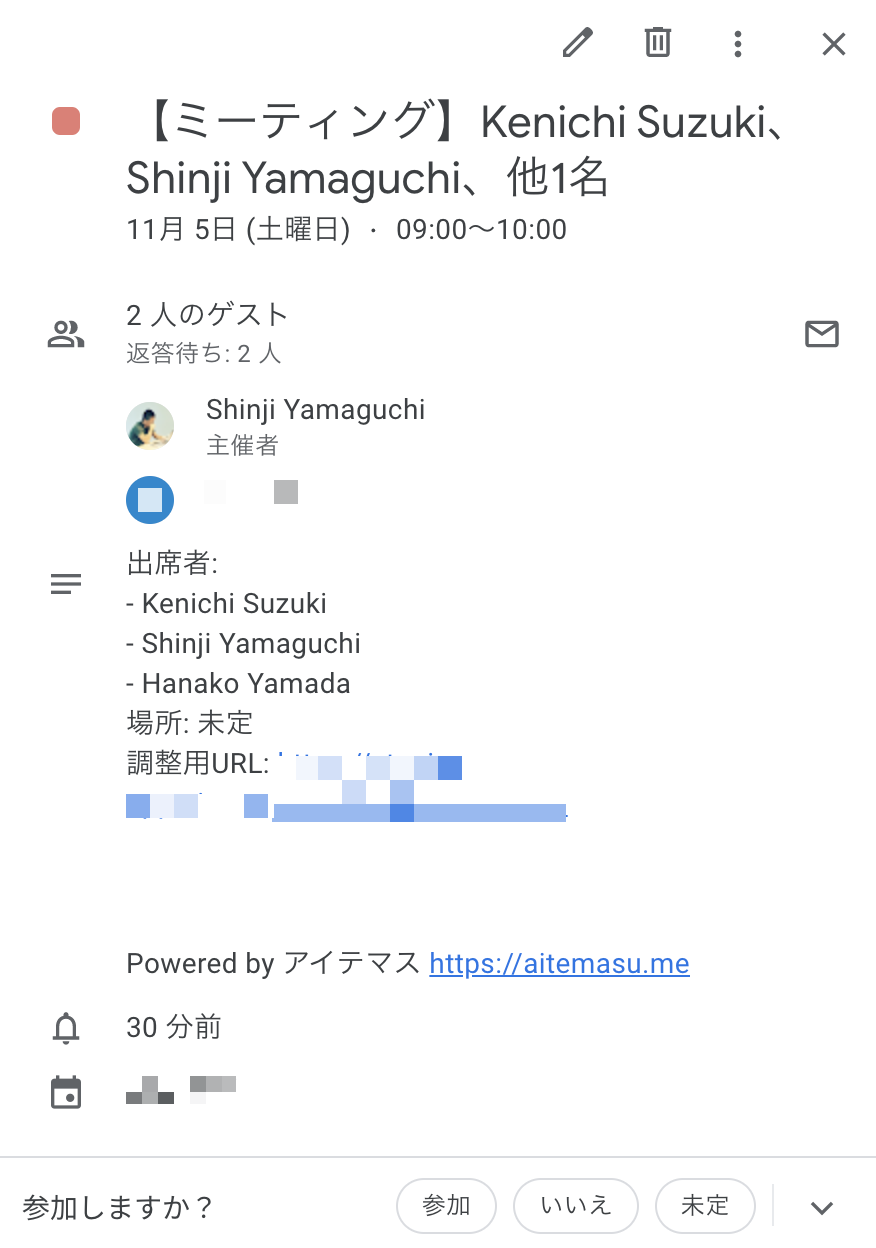
After the schedule is confirmed, team members specified as participants will receive calendar invitations from the organizer's Google Calendar to their designated calendars as specified in their My Schedule sharing settings.
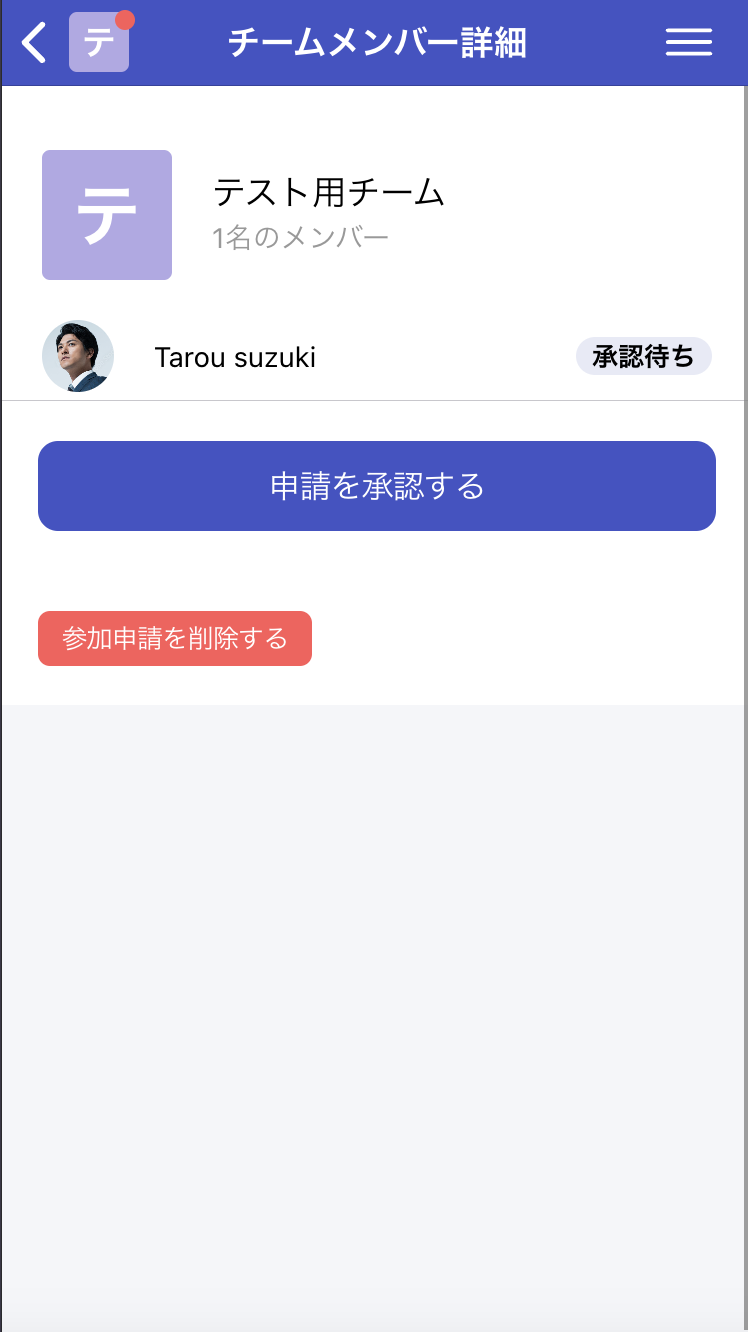
This action can only be performed by team owners or team managers.
When removing a member
from the team, the following changes will be made to settings and data related to this
member:
*Information about confirmed schedules related to this member will remain in the team space without being deleted.

When you leave the team, the following changes will be made to settings and data related to this team space:
Team owners cannot perform this action. If a team owner wants to leave the team, they must first change the team owner.

Change the owner and click "Save" to complete the change.